Easy
We can’t understand how, after so many years of bloging, we haven’t dedicated yet one post to talking about cactus Strings Art! Luckily, today we have thought about it and we have looked for the 10 best cactus String Art, so, here we have our Top 10. As we can see below, some of them are regular cactus or succulent, others are cactus with flowers and others are cactus that can be found in flowerpots or in the plains of the desert. Let’s take a look at these 10 works.
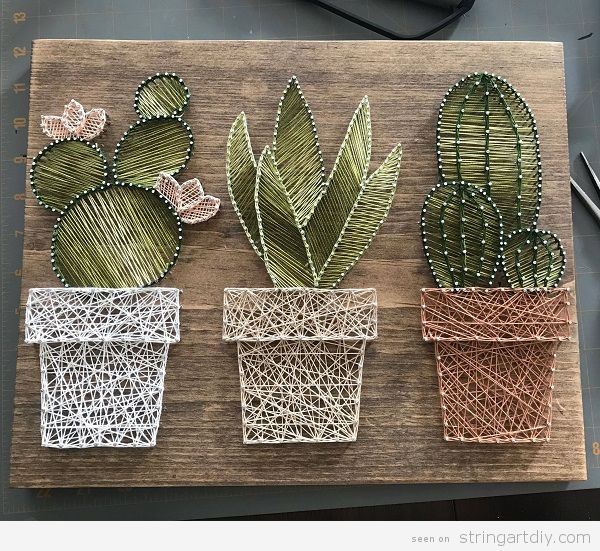
THREE CACTUS
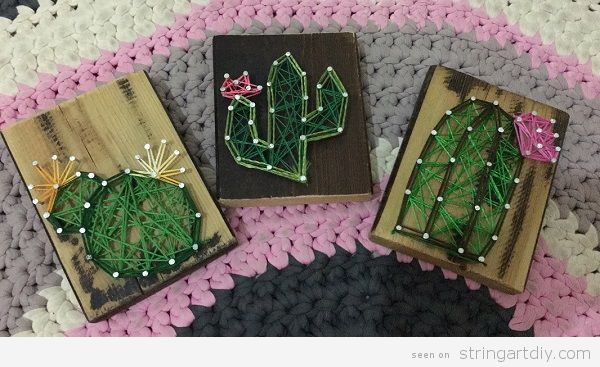
We love this String Art with three different cactus planted in three pretty pots, each one of a color. Notice that one of them has pretty flowers. You can DIY or buy it on BrittasDreamDesigns.
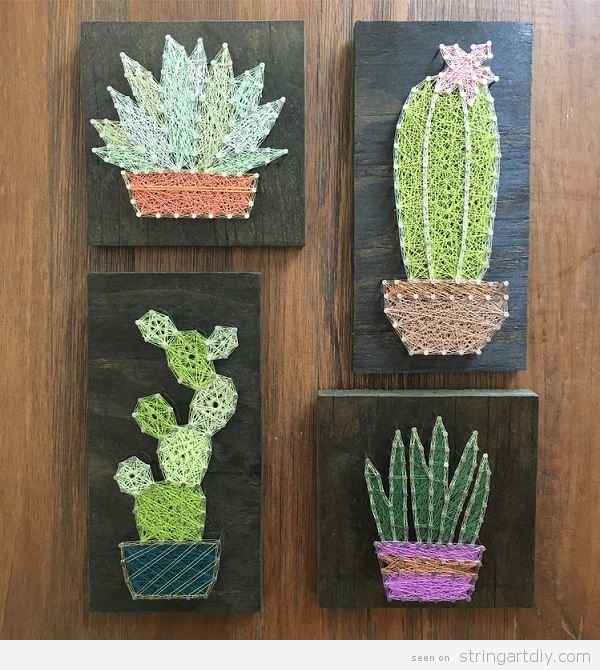
CACTUS AND SUCCULENTS
Pay attention also to these beautiful succulents and cactus on a dark wood base. We love their shapes and colors. This work was created by Rachel Herring.
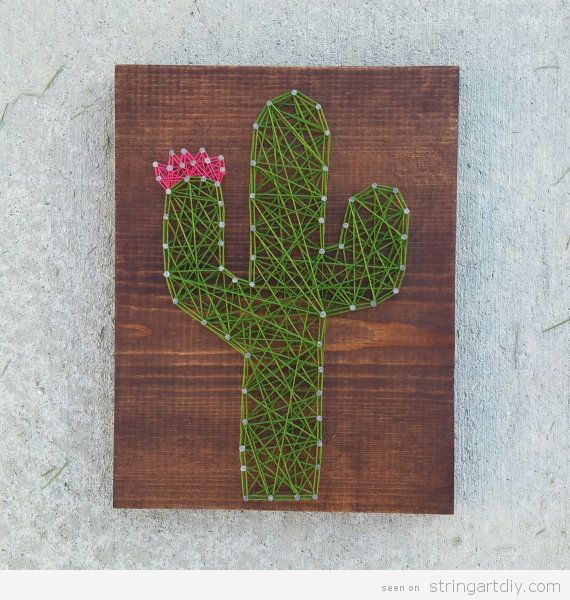
BIG CACTUS
We leave the flowerpots and we take a look at the plains of the desert to imagine a big cactus like this one. It’s a nice piece that you can buy at Etsy or, if tyou prefer Do It Yoursef, so we encourage you to watch this tutorial by Love Tempe.
Here you haver another tutorial step by step by TurquoiseBoutiqueStudio that could help too to make this cactus String Art.
CACTUS WITH CLOTH FLOWER
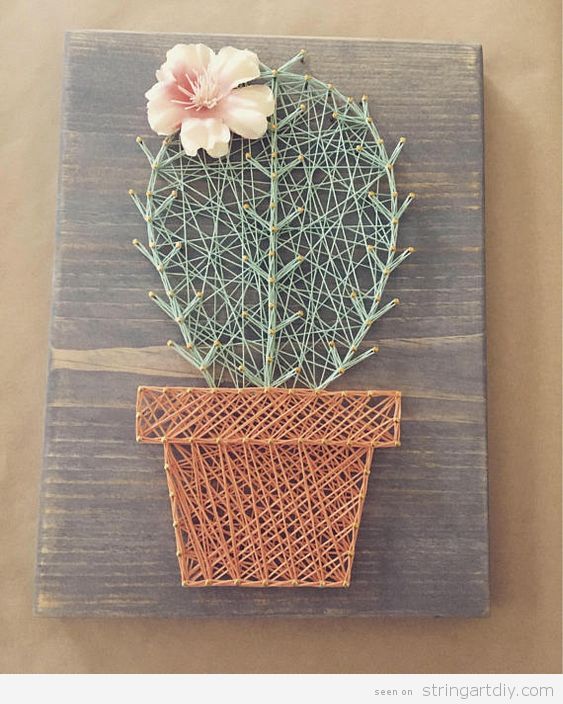
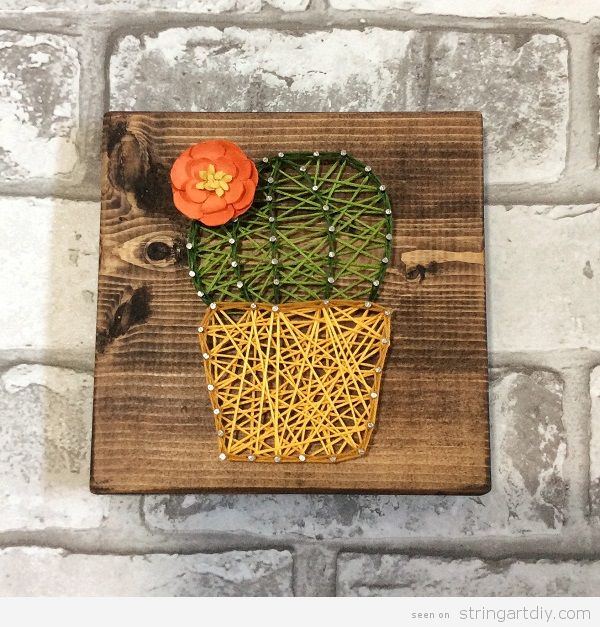
Sometimes it is very good when we add an object of another material in a String Art work. For example, in the next two cactus String Art, the flower is made of cloth and it looks wonderful. This one is made by BrittasDreamDesigns and the next one with the orange flower is made by Locker Pivots.
PASTEL CACTUS
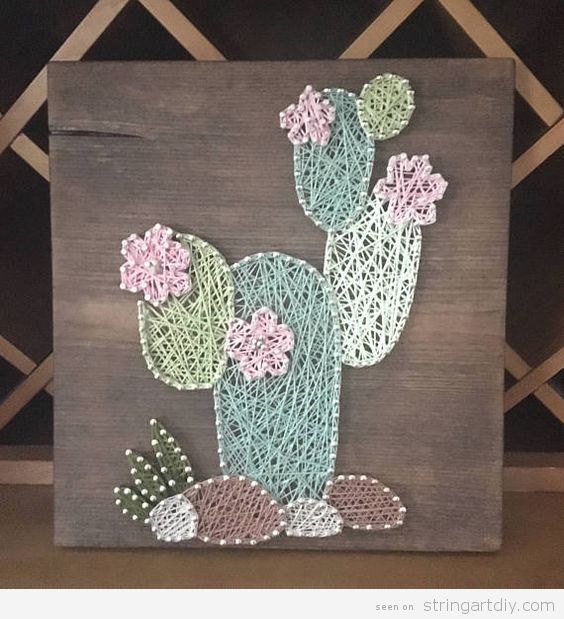
If the String Art is to decorate a nursery, it is better to make it with soft and pastel colors, like this cactus full of flowers and beautiful details. It’s no longer avaliable on Etsy but you can Do It Yourself having it as a reference.
CACTUS WITH FRINGES
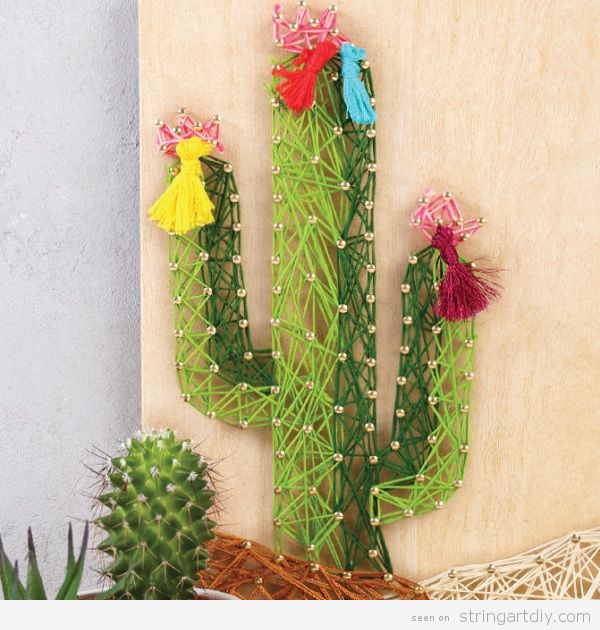
If you are tired of cactus flowers, you can add something more original, like pompoms or colored fringes. You can see the full tutorial step by step visiting Perles and Co.
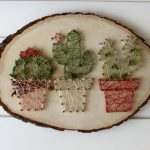
THREE CACTUS ON WOOD SLICE

In case you would like to add something different on the cactu String Arty, you can also change the base from normal wood piece to a slice of wood. You can buy it on hannahhandcraftedco or take it as an example and try to imitate it.
GEOMETRIC CACTUS
Another original way to make these String Art cactus is by drawing them in geometric shapes. It gives a much more modern look. We have found it on Pinterest.
REAL CACTUS ON STRING ART
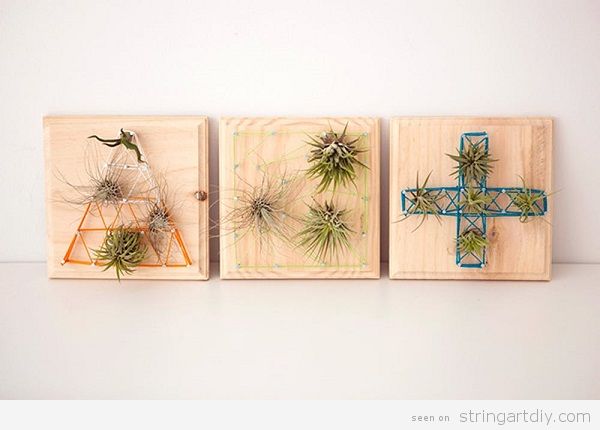
To finish, we turn it around and we offer you a variety of a geometric String Art with real cactus planted in the wood base, as if they were flowerpots or vertical planters. Is really really original and you can found the whole tutorial step by step on Brit.co.
We wish that all these cactus String Art have pleased you and that you decorate your home walls with them. We encourage you to do it yourselves and tell us how it was. See you soon!
Our favorite time of the year has arrived: Christmas is here! And it’s just the time to send Christmas cards to our beloved ones. What do you think if we make them ourselves? Today we propose to you to make String Art Christmas cards with the shape of a christmas tree, an angel or a snowflake. For some of them, we give you the link to visit the tutorial. If not, we provide to you the free pattern or the free template to make it easier. Let’s go!
MODERN CHRISTMAS TREE STRING ART CARD
 To start with, here you have this modern Christmas tree card, very easy to make, including some beads as a decoration. If you add words like “love”, “joy” or “peace” is even more lovely. You can see the full tutorial step by step here: Hello, Wonderful. Simple and funny to make with kids, but be careful with the needle!
ANGEL STRING ARTCHRISTMAS CARD
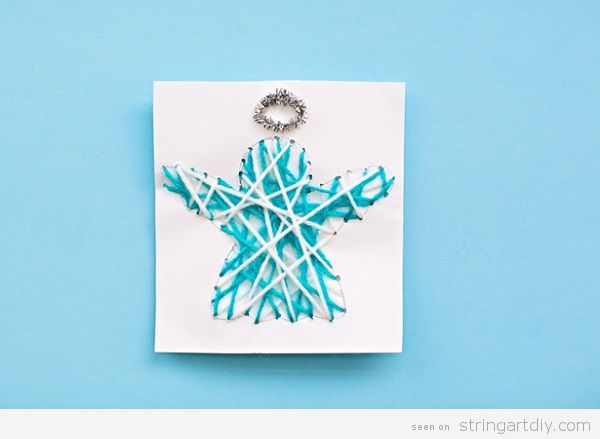
This one it’s also made by Hello, Wonderful, and the process is just the same that the modern tree. Instead of a tree, it’s an blue and white angel. Pay attention to his halo or crown made using silver and very small garlands. So cute!
SNOWFLAKE STRING ART CHRISTMAS CARD
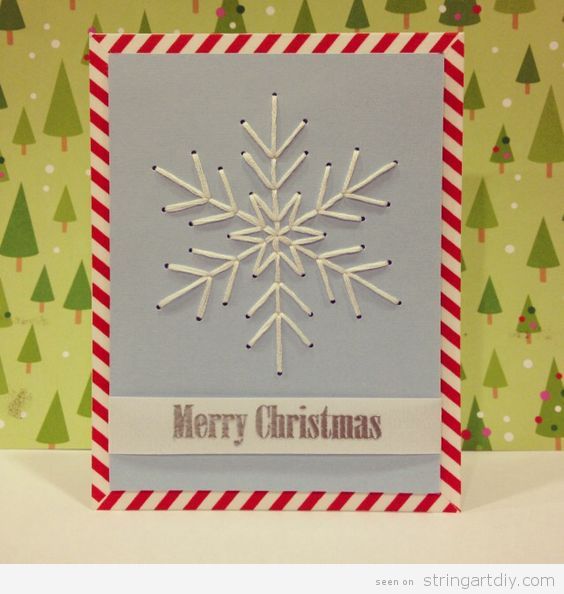
We have found on Jaded Stephanie Pinterest this wonderful snowflake Christmas Card and we think that it deserve a try because it’s a beautiful, simple and modern design.
TRADITIONAL CHRISTMAS TREE STRING ART CARD
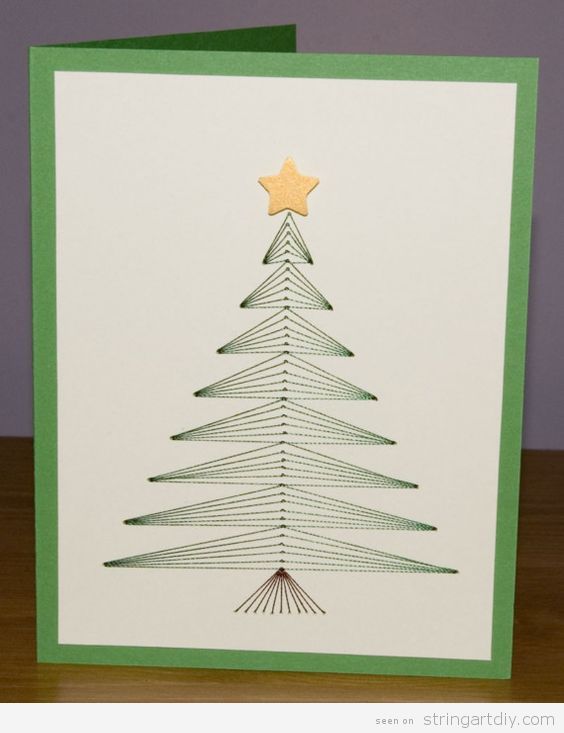
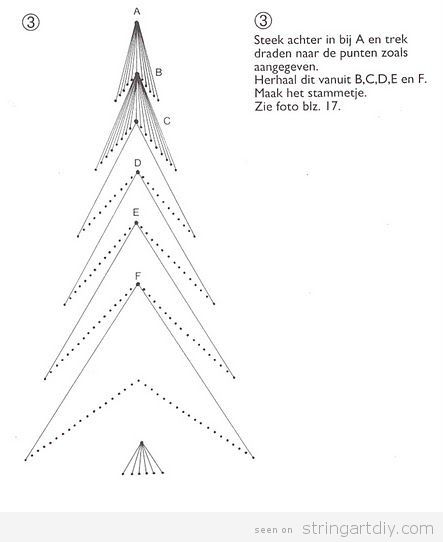
If you prefer a traditional christmas tree card instead, here you have another design by dominicInOhio. It’s algo very minimal and elegant. As we can’t bring you the tutorial, here you have a similar patter or template that maybe you can use:
STITCHED TREE CARD
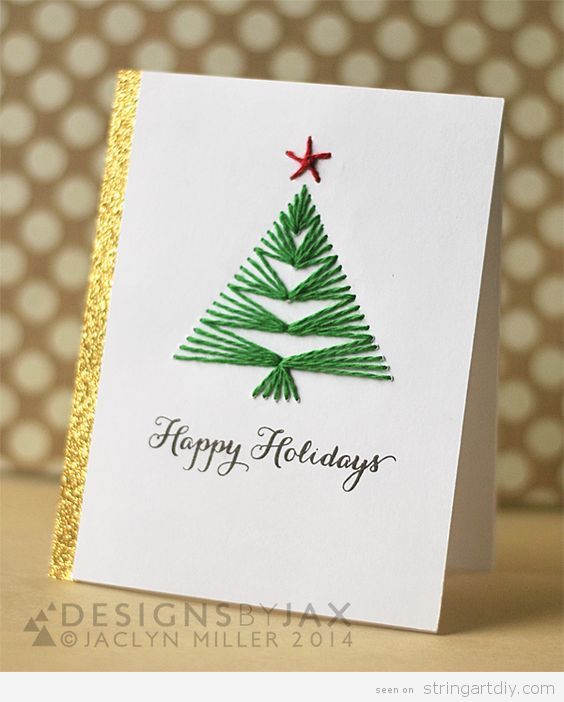
Yes, instead of call it “String aAt card” we can call it “stitched card” because it’s a kind of embroidery work. This project it’s also very easy to make and you can follow all the process step by step by visiting The Twinery. Minimal, elegant and very festive design, indeed, including the calligraphy and the glitter part.
CHRISTMAS TREE MADE BY CIRCLES STRING ART CARD
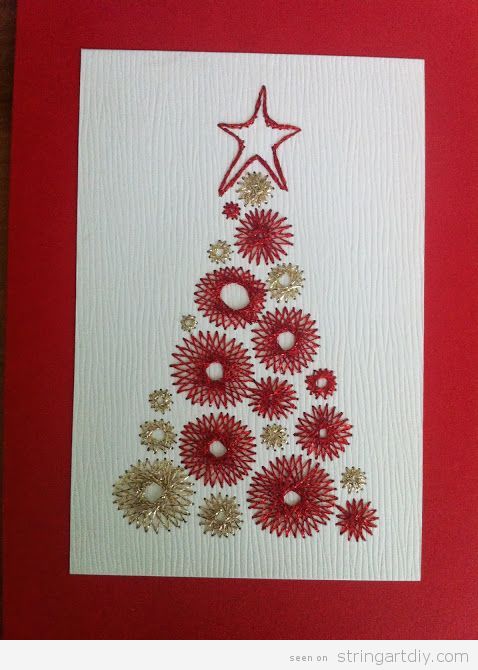
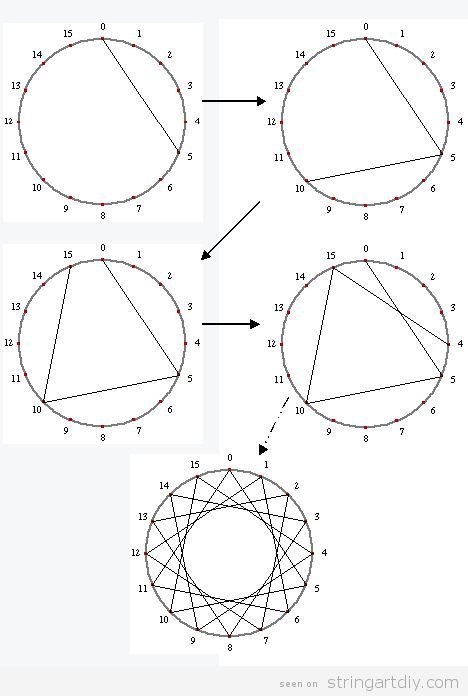
We finish by proposing you this original way to create a Christmas tree String Art card. Its shape is made with red and golden String Art traditional 8, 16, 24, 32 or 40 points stars. Here you have the template to a 16 point star String Art, but the process is the same by multiplying the points.
We hope you enjoyed these String Art Christmas Cards. If you decide to make one, please, send us photos to our Twitter or Facebook. Rembeber: @stringartdiy on Twitter and String Art DIY on Facebook. See you soon and happy holidays!
Hello everyone! Today we bring you a new String Art that is very easy to make, perfect to make it at fall season. Since it is very simple, it’s suitable to make with children, but always with adult supervision, due to the fact that we are using nails and hammers. As you can see on the frame, it’s a fall leaft String Art. Let’s take a look to this video tutorial by regalamanualidades.
The best thing about this project is that you do not even need a leaf tree template, you can directly use a sycamore leaf, a maple leaf, a tulip tree leaf or no matter what leaf found at the woods in autumn as a template. Put it on the wooden board and put the nails around it, as you usually do with paper templates.
It would be perfect if you can buy a gradient yarn or gradient thread from orange to black or brown, as the used in the tutorial. If you cannot, then buy orange, dark orange, ocher and dark brown threads and make several layers to get the gradient effect. Pay attention to the end of the video, where we see how to tie the last thread, creating a special knot to fix the thread and be sure that it will not untie.
We hope that you liked this Sting Art and that you fell fancy going the forest to find a few dry leaves to use as a template and make projects as beautiful as this one to decorate your house in the fall season.
If you enjoyed this tutorial, please, share it with your friends so that they can also do this beautiful craft with their kids or their art students. We hope to see you soon! Until then, have a happy autumn.
Heeey! If you are looking for an easy String Art for begginer or for make with kids and teenagers, maybe this video made by Diego Rojas will help you.
As you can see, you only have to nail the nails in a wooden board following the line of a circle. We recommend to print the shape or draw it using a pencil and then pin the nails around it. After that, you must cross the threads in the order you can see on the video. Then, repeat the process twice using some different colours and that’s it.
An that’s all! You will have a perfect handmade project to decorate a wall.
Yeah, we are in fall season and pumpinks starts to appear in every cornerm, so he have searched for pumping String Art.
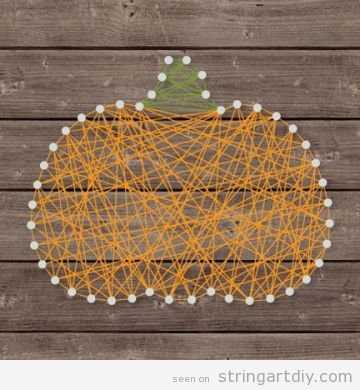
The normal thing is make a beautiful pumping in a regular wooden board, like this one by Jillibean Soup:
But what could happen if we invert the process and we use a pumpkin as a canvas? The results are amazing! As you can see, we pin the nails on the pumpink and then the following stepas are the regular ones.
BOO GHOST PUMPKIN STRING ART
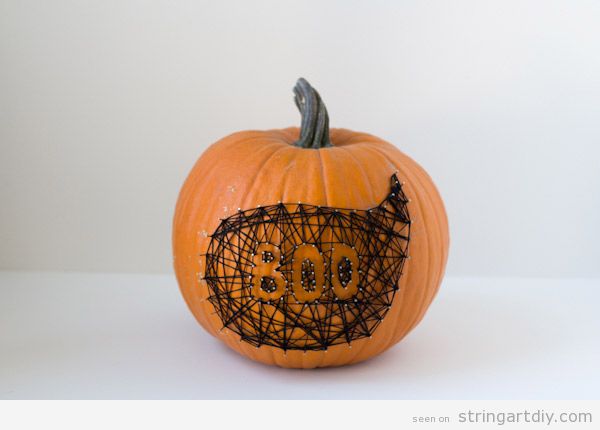
If you don’t like to crave a pumpkin, there are plenty of possibilities, like this boo and ghost shaped String Art made on a pumkin. You can see the full tutorial at: Lovely Indeed – diy string & nail art pumpkin
ZOMBIE PUMPKIN STRING ART
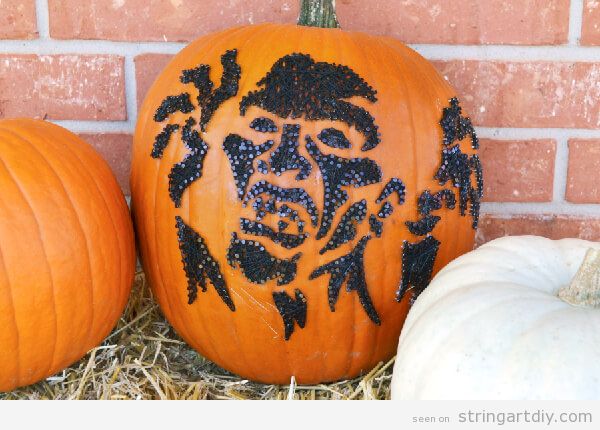
Yeah, zombies are terrifying so this is a perfect DIY decoration for Halloween.
You can know how to make it by visiting Dream a little bigger – ZOMBIE STRING ART PUMPKINS – NO CARVE!
EVIL FACE PUMPKIN STRING ART
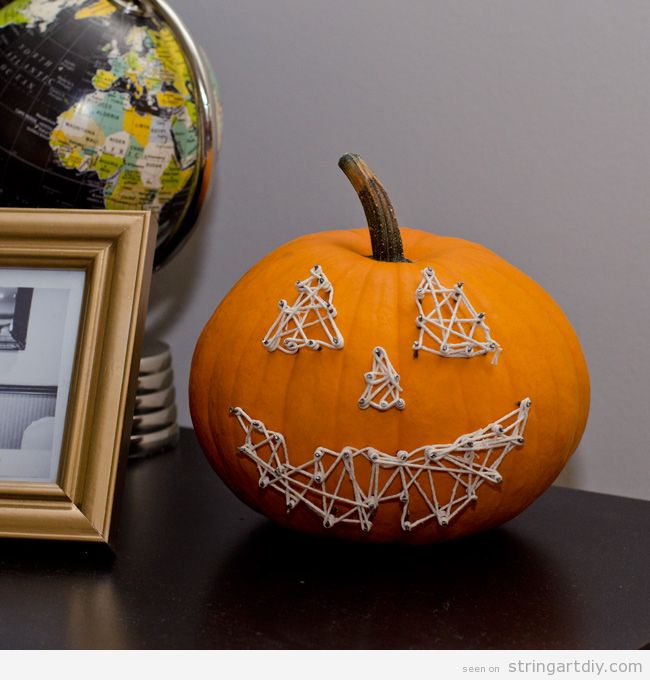
This is the typical evil face that we use to carne on a pumpkin, but this String Art is easier, quicker and better!
HEART PUMPKIN STRING ART
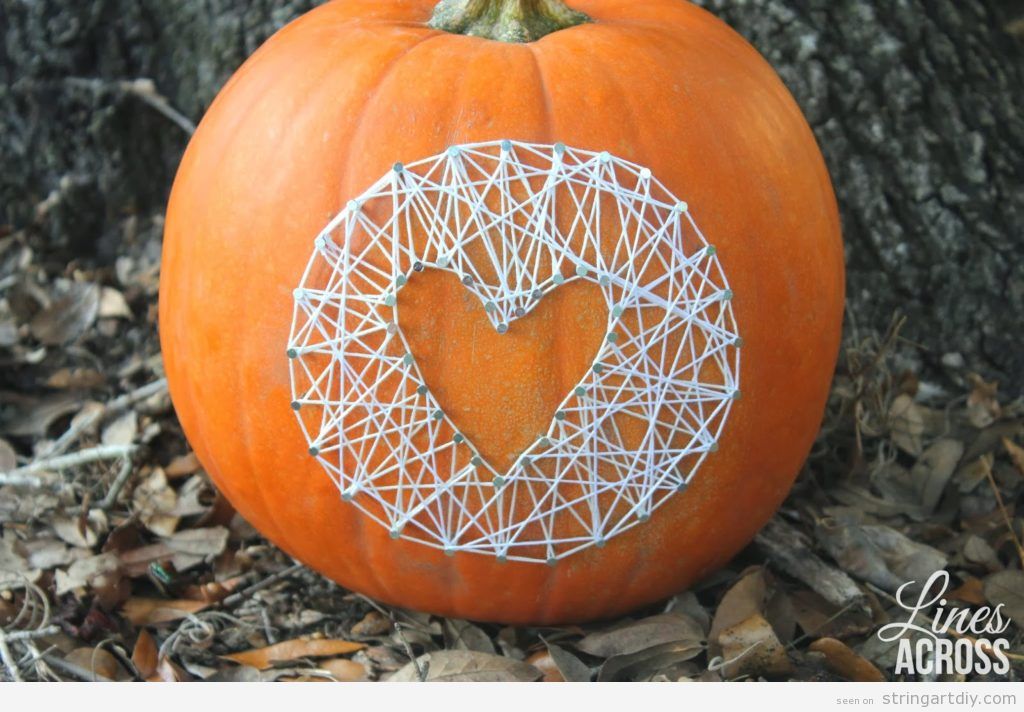
If you just love autumn and pumkins and you don’t want to scare anybody, you can make a heart shaped string art on this vegetable, well, is technically a fruit. This would look awesome on your front door.
You can found the full tutorial on this link: Lines Across – Pumpkin String Art
Have you liked it? If so, please, share the post on yout social networks! Thanks! 🙂
The school year has already started and we need a lot of ideas to make crafts with our kids or little students.
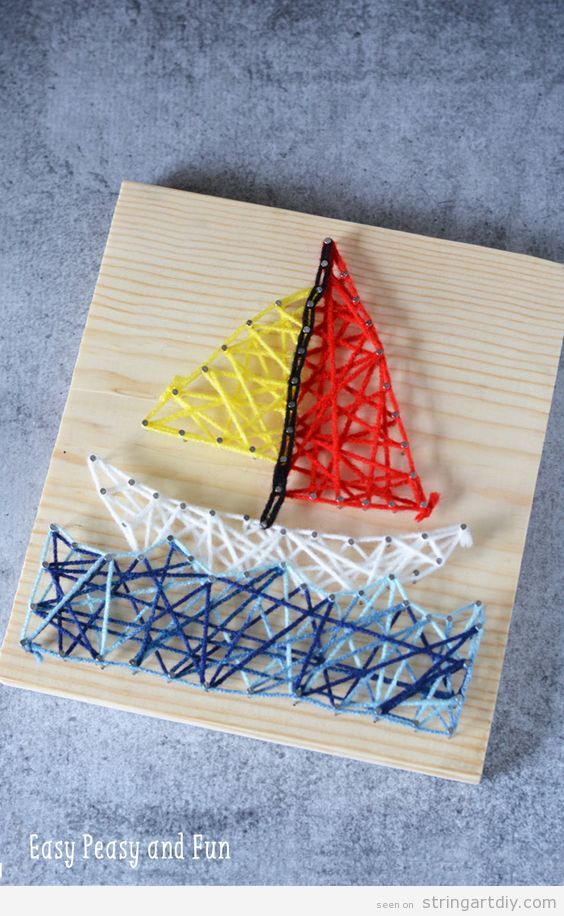
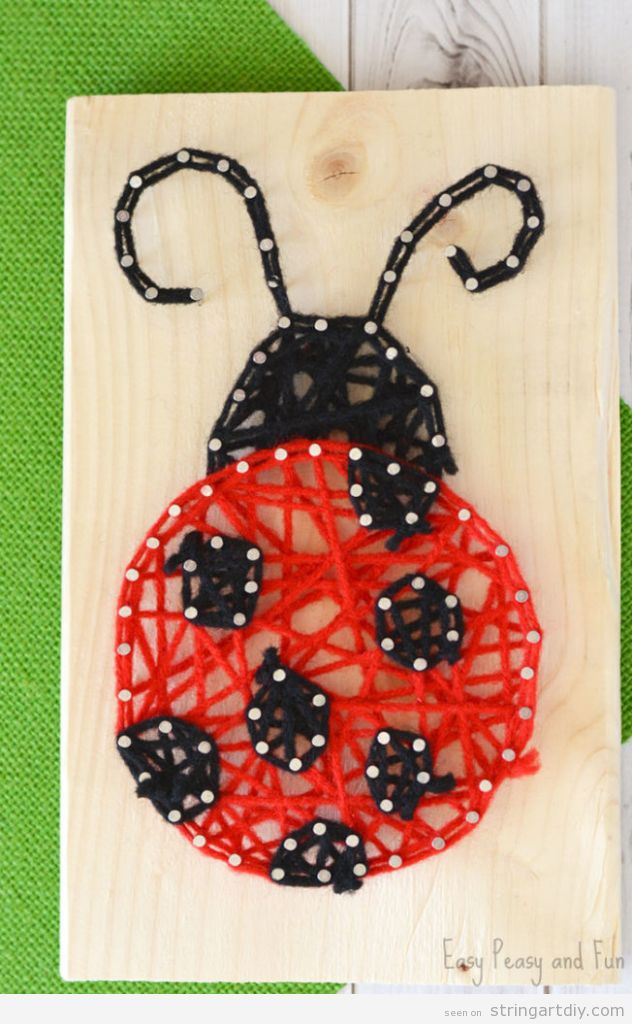
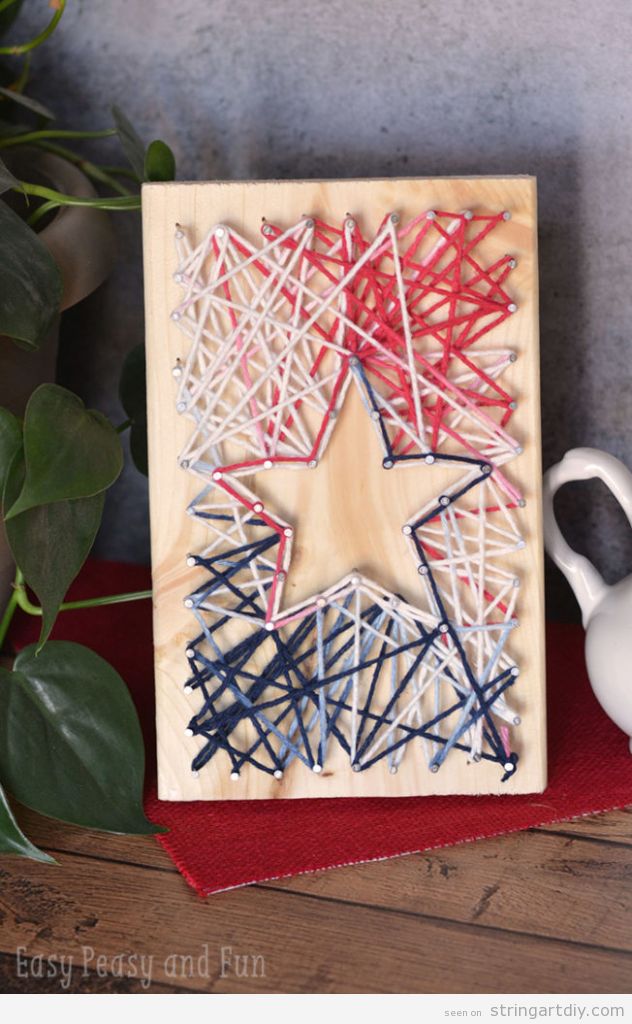
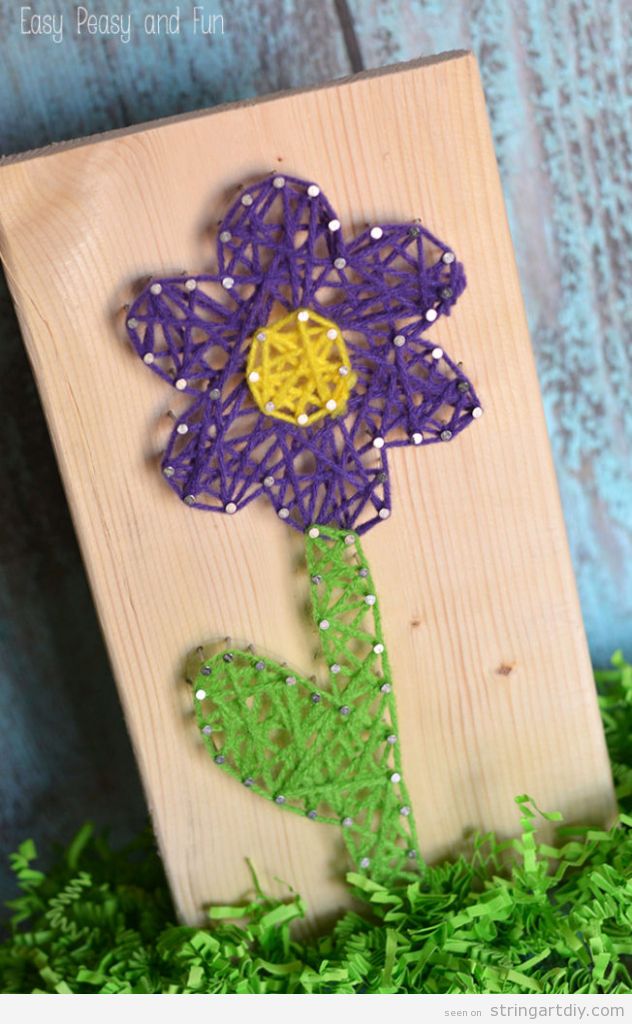
Easy Peasy and Fun it’s a lovely site full of crats ideas for kids, as his name says, they are easy-peasy and fun to make. We have searched his String Art projects fors kid and we have found these 4 lovely crafts.
As you already know, to make it, we just need a wooden boards, nails (or thumbtacks), a hammer and threads (nylon, cottonr or wool)
Here they are!
BOAT STRING ART
LADYBUG STRING ART
STAR STRING ART
FLOWER STRING ART
Andrea Vlogger Gt show us in this video 2 ways to make a String Art DIY, the “inverse way”, filling with thread all the space left outside the main figure, in this case, a heart and, on the other side, the classic way, filling the figure, in this case, the word “love”, written whith a lovely handwritting typo.
As you can see, she paints the board in blue and in pink. The thing I like the most is that she uses jute or sacking thread to make this project and it looks really great. Don’t you think so?
It’s a really lovely handmade gift to your boyfriend or girlfriend, no matter if it is because of your love, your anniversary or Valentine’s Day.
Well, as always, we engourage you to send your String Art project to us via Twitter @stringartdiy and Facebook String Art DIY!
Loo has made this great video to show us how to make a “origami” word gradient String Art. However, you can change “origami” for another word that you love the most.
As usual, you need these materials:
- Letterns pattern printed on paper
- Scissors
- Pencil
- Eraser
- Tape
- Board (1 cm or more, 0,39 inches)
- Newspaper pages
- Nails 1- 1.5 cm / 0,39 – 0,59 inches (the smaller, the better)
- Hammer
- Coloured threads
- Tow or brush (it depends on the paint you have chosen)
OPTIONAL:
- Acrylic paint
- Spray
- Alcohol ink
The steps are easy, we recommend you to watch the video to see all the process.
Enjoy it!
Hi everyone! Although we are in summer, we don’t stop, even on holidays! You can use your free time to spend quality time with your kids or with yourself by making this kind of handmade project that you can use to decorate the libing room.
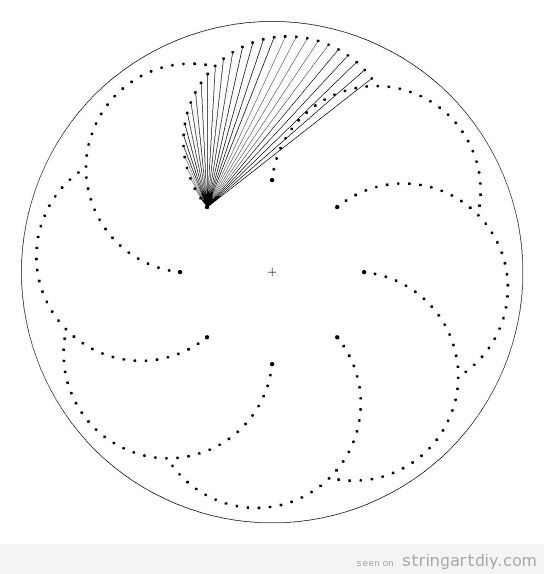
As you can see in the pattern, it’s a kind of spiral shape repeated, and it results a klind os cloudly circle or a kind of windmall, but with rounded blades. Pay attention, you have to start to throw the threads by each point marked.
As a result, you have a klind os 70’s String Art, old school but cool.
Credits: Vero B – broderie sur cartes
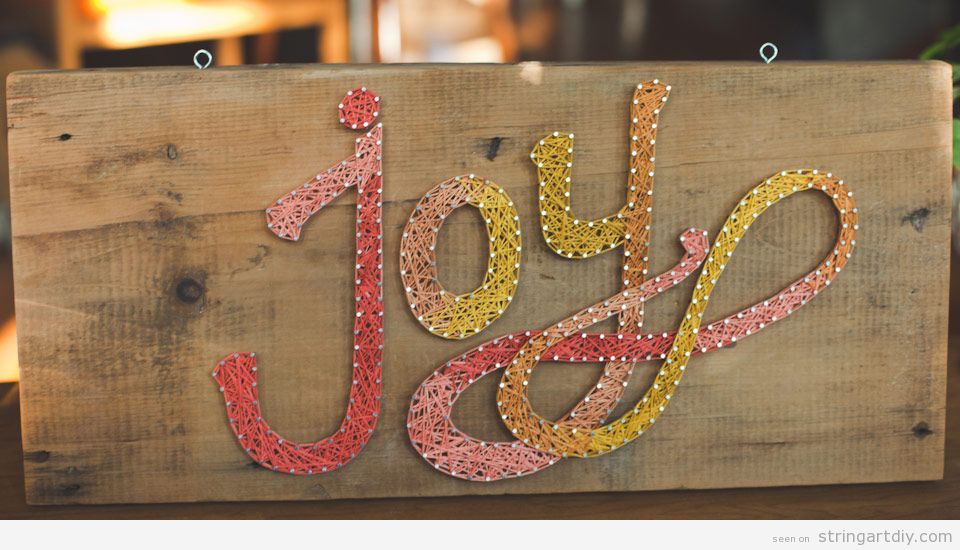
Here you have and easy DIY project to decorate your place. As you can see, it’s a “Joy” word String Art in gradient colours, from yellow to red.
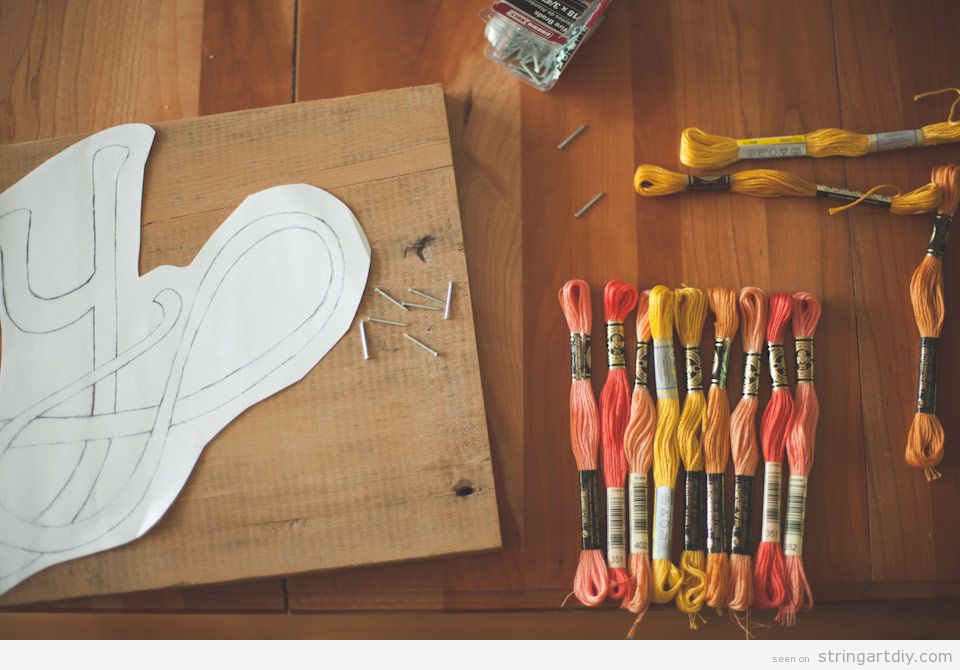
You can follow the steps in this tutorial to lean how to do it in an easy way.
Source: Dear Mckenzie
