String Art for Kids
Easy ideas, tutorials and patterns to make String Art crafts for kids.

Playing video games online can be a fun activity with which to spend long hours of pure entertainment, but it can be even more fun if you play with your brother or sister or a friend by your side without the need for controllers, simply with the computer keyboard.
Do you know what are the 2 player games? They are simple games for children or adults who want to have a good time playing with their children found on websites like Friv5Online Games Studio where two players can play simultaneously using the computer keyboard, one plays with the arrows and the other plays with the AWD keys. Let’s get to know, then, the best 2 player games online!
Fireboy and Watergirl
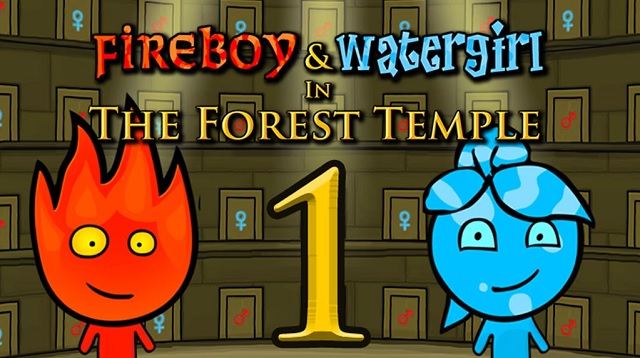
Fireboy and Watergirl 1: Forest Temple is a fun game and the goal of the protagonists is to get the red and blue diamonds and bring both characters safely to the exit. The heroes form a good team thanks to their complementary powers and weaknesses, such as fire and water. To get through the Forest Temple, they will have to work as a team, using their strengths. If you like this game, you can find more adventures from the Fireboy and Watergirl game series in other settings.
Drac & Franc
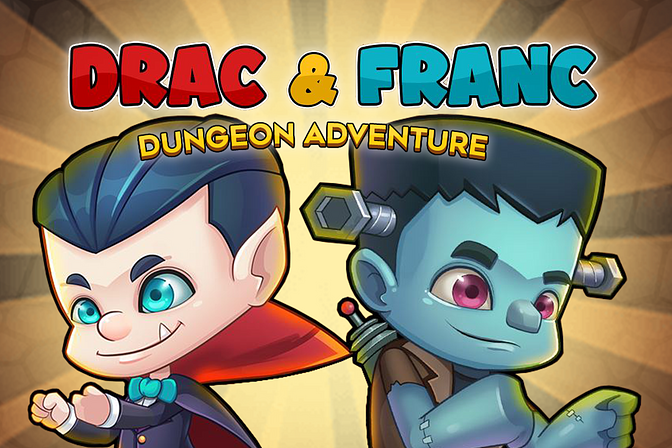
Do you like Dracula and Frankenstein? Then this game will make you fall in love with them, as they are the main characters. There is no doubt that this is an epic adventure with two legendary monsters. In this 2-player online game each person will have to help Dracula and Dr. Frankenstein reach the end of the dungeon. The key to this game is to work as a team to overcome obstacles and collect gems to reach the end of the level. I’m sure you’ll have a scary time!
Zombie Mission 3

In case you enjoyed playing Zombie Mission 1 and 2, now you can have fun with the 3rd part of Zombie Mission! Like the two previous ones, this is a cooperative game for 2 players in which each person must control a character with the intention of helping each other to overcome all the levels. The goal is to collect hostages and data disks with important information about humans and use all your weapons to destroy hundreds of zombies while avoiding falling into the dangerous death traps that lurk along the way.
Street Fighter 2 Endless
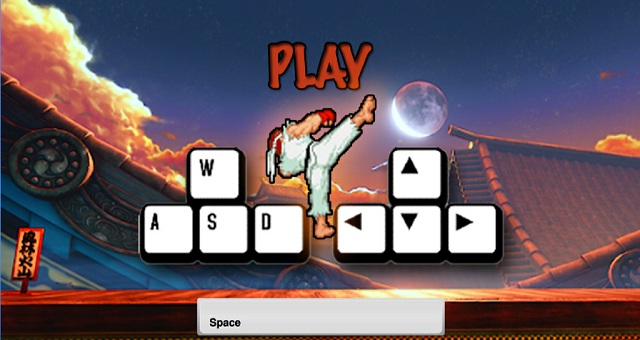
If you like classic one-on-one fighting games, there is nothing in this world like Street Fighter. Luckily, we can also play it online with 2-player games in this Street Fighter 2 Endless. When you start, you will see the mythical players Ken and Ryu and you can start fighting, even with the space key, which is shared, you can launch their special attacks. In addition, replicas of each character will appear. Amazing!
Evo Warriors
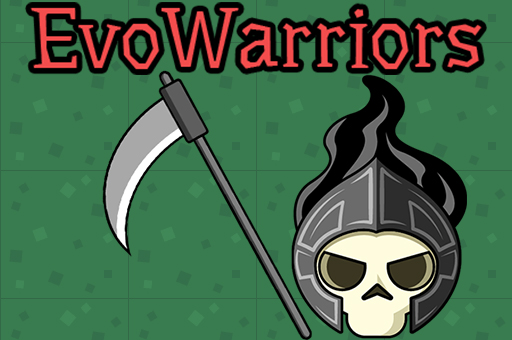
This is a fantasy game where you have to eat steaks, eggs and milk to make your little character grow, but be careful, as you can’t eat the poisoned potatoes or you will become small again. The key is to fight against the smaller players and run away from the big ones.
So much for our selection of 2-player games that your children will love. If you want, here is the io games list you can find more games and have fun together, have a great time!

Hello everyone! Today we bring you a new String Art that is very easy to make, perfect to make it at fall season. Since it is very simple, it’s suitable to make with children, but always with adult supervision, due to the fact that we are using nails and hammers. As you can see on the frame, it’s a fall leaft String Art. Let’s take a look to this video tutorial by regalamanualidades.
The best thing about this project is that you do not even need a leaf tree template, you can directly use a sycamore leaf, a maple leaf, a tulip tree leaf or no matter what leaf found at the woods in autumn as a template. Put it on the wooden board and put the nails around it, as you usually do with paper templates.
It would be perfect if you can buy a gradient yarn or gradient thread from orange to black or brown, as the used in the tutorial. If you cannot, then buy orange, dark orange, ocher and dark brown threads and make several layers to get the gradient effect. Pay attention to the end of the video, where we see how to tie the last thread, creating a special knot to fix the thread and be sure that it will not untie.
We hope that you liked this Sting Art and that you fell fancy going the forest to find a few dry leaves to use as a template and make projects as beautiful as this one to decorate your house in the fall season.
If you enjoyed this tutorial, please, share it with your friends so that they can also do this beautiful craft with their kids or their art students. We hope to see you soon! Until then, have a happy autumn.
Creativity is infinite and boundless, so we keep searching and finding new designs to make plenty of String Art projects. Today we want to show you this kind of challenge in Versus Youtube Channel where two girls try to make a String Art: one of them creates a Facebook Thumbs Up symbol and, the other one, creates the “Versus” word. Let’s take a look to the process:
As you can see, the symbol has won the challenge and it looks a little bit better than “Versus”, so let’s focus on this one. First of all, you need a thumbs up template:

You can download this pattern in full size to print in this link: Thumbs Up Template
Then, you put the pattern on the board and pin the nails over the shape using a hammer. Once you finished, remove the pattern and start to cross the threads over the nails. We recommend you to use three tones of blue, one darker to the edges, one lighter to the cuff and one even lighter to the hand. Add some red to the cuff button!
We hope you like this project and enjoy making them! This is a nice low cost project to decorate your bedroom, so let’s go.
Hi, guys! I have found a wonderful Facebook page called La Hilería and it is full of beautiful String Art projects that you can notice that they are full or love and care. I love especially those that pay attention to kids, with colorful designs, perfects to decorate a childs bedroom. Here I show to you some ideas that you can buy or DIY.
BIKE AND NAME STRING ART
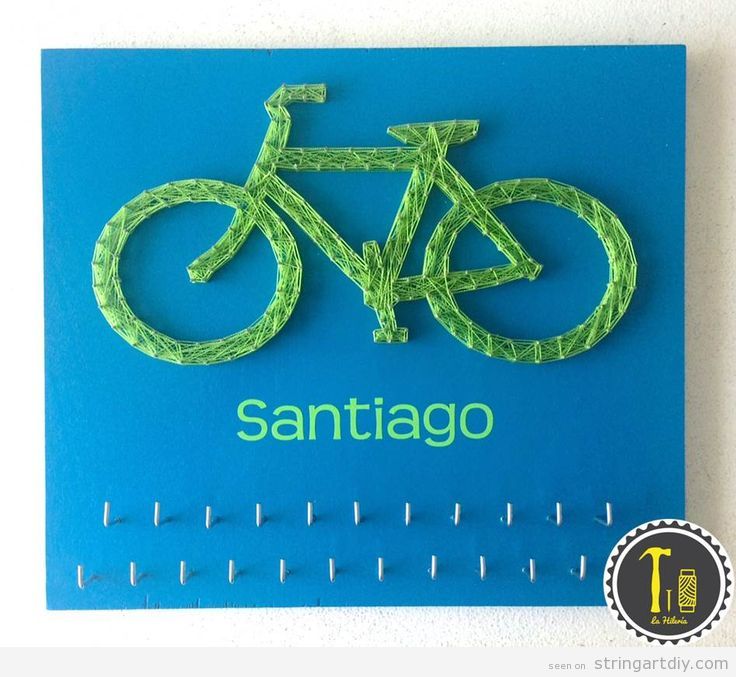
If your son or daughter loves bikes, this String Art with a nice bicycle and his name is perfect. Notice that there are some pins on the bottom to hang whatever you want.
SAILING BOAT STRING ART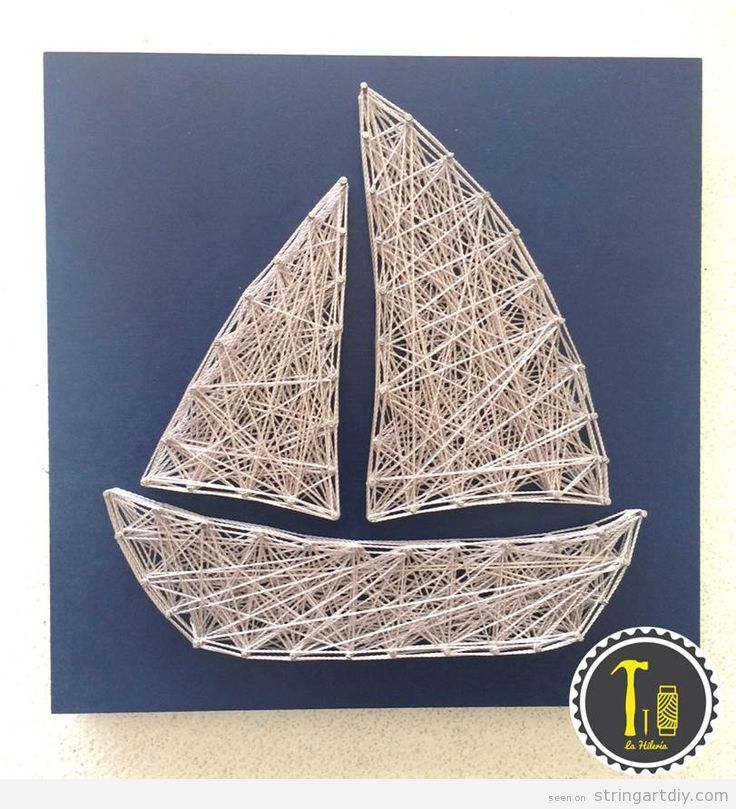
It’s amazing go to the beach and watch sailing boats on the sea, right? When I was a little girl, I enjoyed this moment to much! So a sailing boat String Art could be nice to decorate a themed kid bedroom.
CROWNS AND NAMES STRING ART
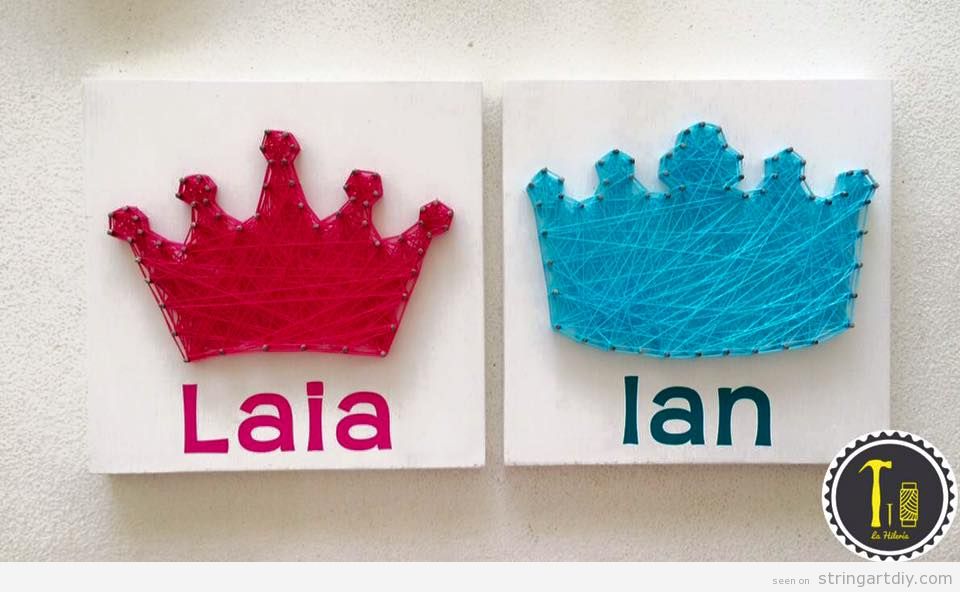
If you think that your daughter is the princess or already the queen of the house and your son is the little prince or the king of the house, these crowns and names String Art is perfect for them!
FAMILY AND HEART STRING ART 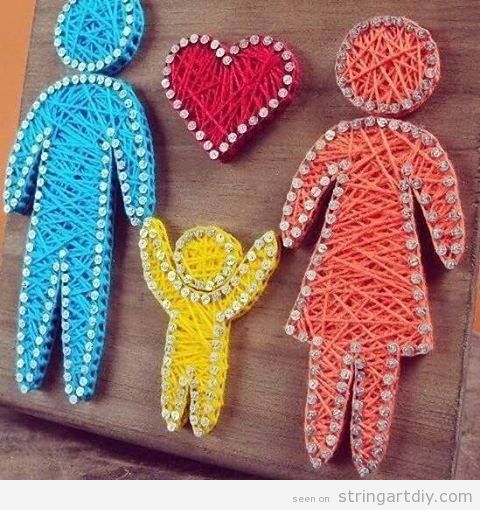
Oh, really cute design! You can portrait love family with this simple String Art. Think that there are a lot of kind of families, like a single mom or dad, two dads, two moms, etc… so open your mind and make different designs.
SMALL PLANE STRING ART
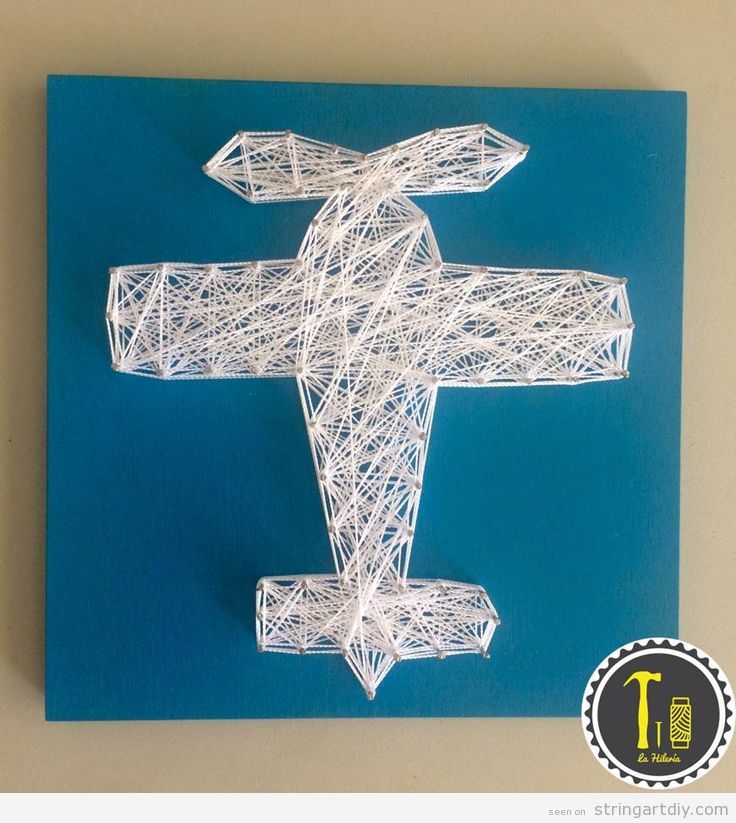
If instead of bikes or boats, your kid are obsessed with planes, this small plane or light aircraft made with white strings and with this amazing and intense blue background, it’s perfect for him or her.
Have you liked these String Art Designs for kids? If so, please, comment or send us pictures to our social networks. Thanks for reading this blog and see you soon!
Heeey! If you are looking for an easy String Art for begginer or for make with kids and teenagers, maybe this video made by Diego Rojas will help you.
As you can see, you only have to nail the nails in a wooden board following the line of a circle. We recommend to print the shape or draw it using a pencil and then pin the nails around it. After that, you must cross the threads in the order you can see on the video. Then, repeat the process twice using some different colours and that’s it.
An that’s all! You will have a perfect handmade project to decorate a wall.
Yeah, we are in fall season and pumpinks starts to appear in every cornerm, so he have searched for pumping String Art.
The normal thing is make a beautiful pumping in a regular wooden board, like this one by Jillibean Soup:
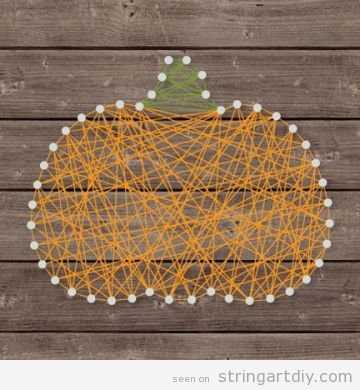
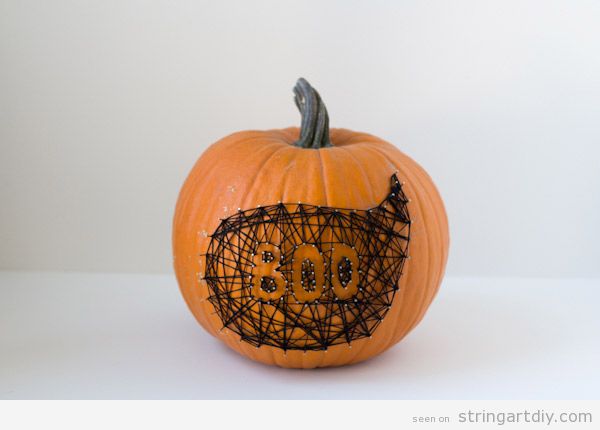
But what could happen if we invert the process and we use a pumpkin as a canvas? The results are amazing! As you can see, we pin the nails on the pumpink and then the following stepas are the regular ones.
BOO GHOST PUMPKIN STRING ART
If you don’t like to crave a pumpkin, there are plenty of possibilities, like this boo and ghost shaped String Art made on a pumkin. You can see the full tutorial at: Lovely Indeed – diy string & nail art pumpkin
ZOMBIE PUMPKIN STRING ART

Yeah, zombies are terrifying so this is a perfect DIY decoration for Halloween.
You can know how to make it by visiting Dream a little bigger – ZOMBIE STRING ART PUMPKINS – NO CARVE!
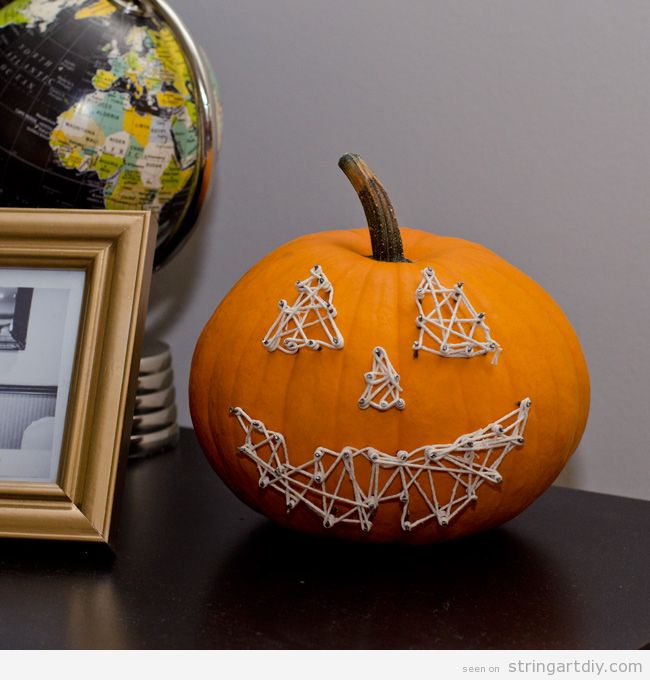
EVIL FACE PUMPKIN STRING ART
This is the typical evil face that we use to carne on a pumpkin, but this String Art is easier, quicker and better!
HEART PUMPKIN STRING ART

If you just love autumn and pumkins and you don’t want to scare anybody, you can make a heart shaped string art on this vegetable, well, is technically a fruit. This would look awesome on your front door.
You can found the full tutorial on this link: Lines Across – Pumpkin String Art
Have you liked it? If so, please, share the post on yout social networks! Thanks! 🙂
The school year has already started and we need a lot of ideas to make crafts with our kids or little students.
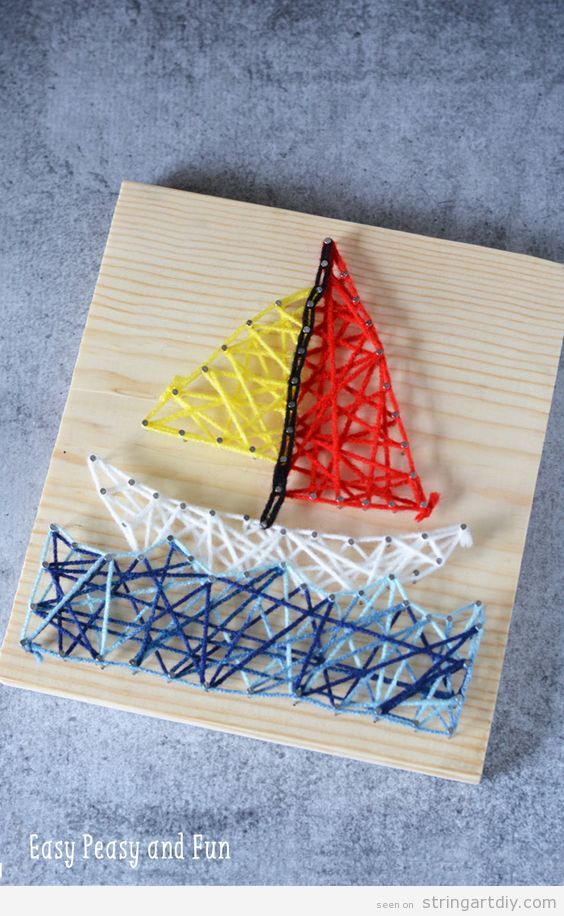
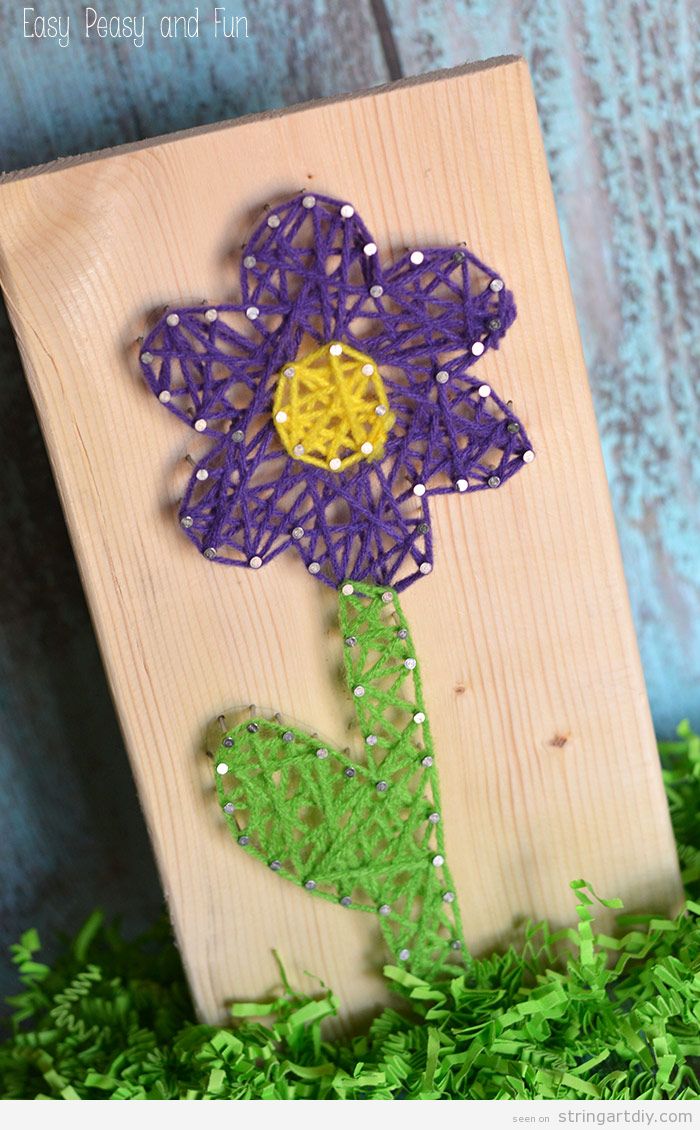
Easy Peasy and Fun it’s a lovely site full of crats ideas for kids, as his name says, they are easy-peasy and fun to make. We have searched his String Art projects fors kid and we have found these 4 lovely crafts.
As you already know, to make it, we just need a wooden boards, nails (or thumbtacks), a hammer and threads (nylon, cottonr or wool)
Here they are!
BOAT STRING ART
LADYBUG STRING ART

STAR STRING ART

FLOWER STRING ART
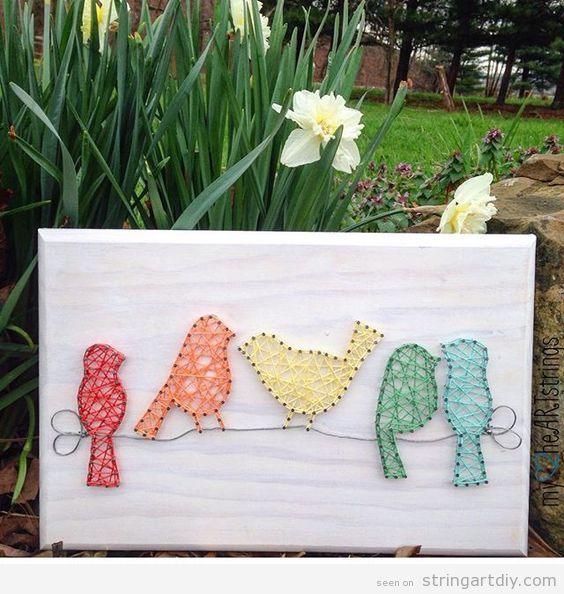
We really love this colourful String Art, the birds on the wire are just a simple and beautiful image to make a String Art. Pay attention: the wire is real and the board in a light wood board makes a perfect background. Maybe you can paint it on blue, either.
That’s a nice craft to make with kids and you can use it yo decorate their bedrooms.
Source: Pinterest (Sorry, we haven’t found the original source, if it is your artwork, please, drop us a line and we will give you the credits!)
HelloKids-us show us in this video a great way to make a Geometric String Art, even to make with kids. Look how they use clothespin in order to not to get damage in the fingers when you hammer the nail.
At the same thime they are having a great time making a craft, they learn geometry and maths. Just a perfect work to make with kids!
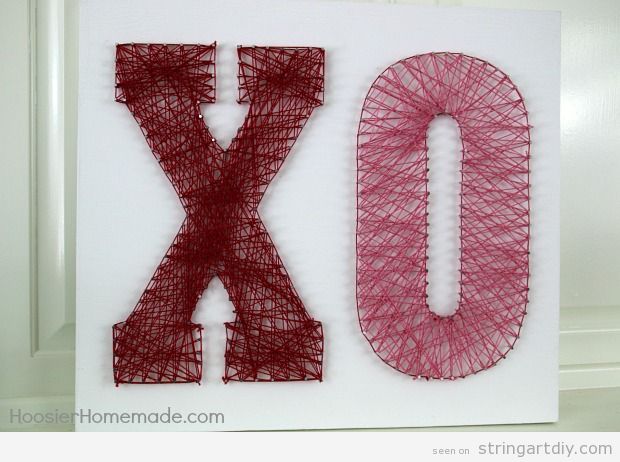
Come on! 6 days left until Valentine’s Day and wer are sure that you haven’t started yet yout handmade gift!
If you are not fancy doing a heart shaped thing, you can try this XO (kisses) String Art . You wil need these materials:

You can see trhe pattern and the full tutorial by visiting Hoosier homemade.
Enjoy it! We hope your Valentines will love this handmade gift!