Tutorials and Videos
Tutorials and videos to learn how to make your own String Art Craft project.
There’s no doubt: Finding a good store to buy string art materials is essential for achieving good results with your DIY project. Quality materials will give you superior results and ensure that your work will last longer and they will look nice when placing them in a wall.
For a quality String Art piece, you will need different types of yarns, twines, threads, nails, paints and other materials. These materials may have different properties which could affect the overall look of your design. For that reason, find a good and very complete store will also carry additional items and tools such as needles, nails, hammers or whatever you need for attaching or weaving the strings onto your wood or canvas.
Luckily, I have found a store where they sell all kinds of materials to be able to make my String Art projects, all of excellent quality and at a good price. It’s called Max Warehouse and today we’re going to take a look at some of their products that will help us in our string and nail crafts.
WOOD STAKES FOR THE BASE
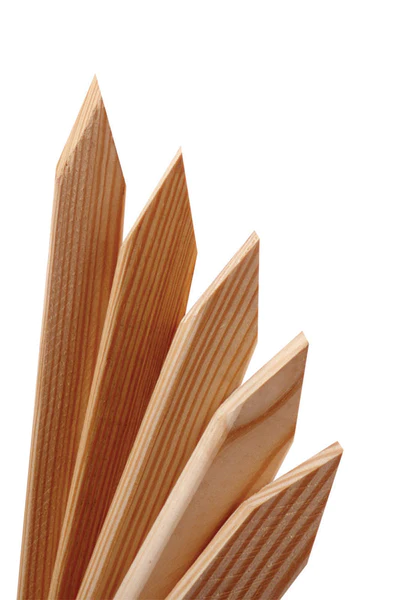
String Art bases made out of wood stakes is a great way to make interesting sculptural pieces. In addition, it is then possible to use the form as the base for String Art designs, weaving around it with strings of various colors and textures to create a 3D artwork with depth. With clever assembly and manipulation of the wood stakes, you can end up with something truly unique that stands out amongst other wall art.
MANY SHADES OF WOOD STAINS
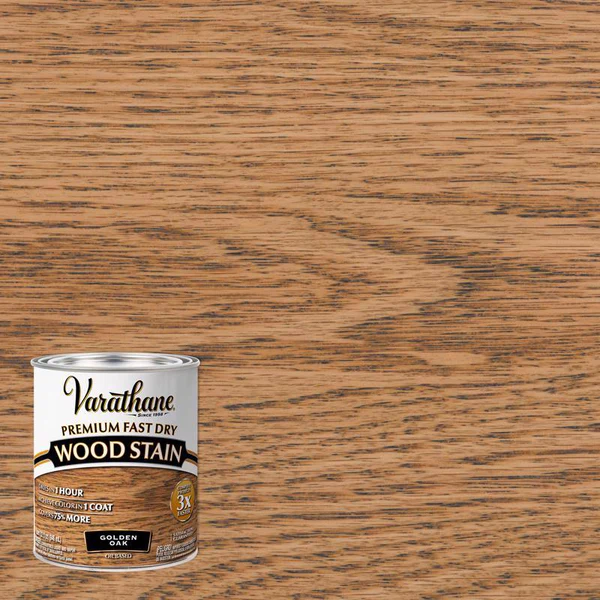
Another product that could improve you String Art projects is wood stain. It can enhance the wood base by providing a durable, protective finish layer that boost its natural beauty, brings out the grain, and protects it from weathering. A wood stain also highlights particular wood grains or texture, allowing for a more customized appearance, and, of course, could increase the longevity of your String Art, even id it’s placed outside.
WOOD PAINT
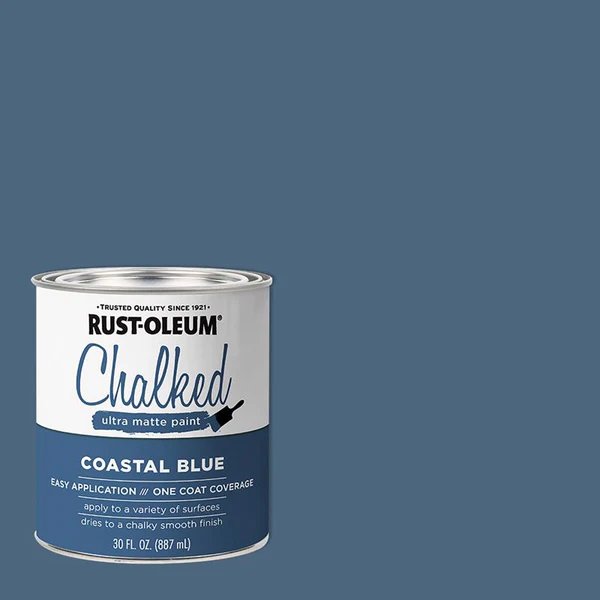
It is worth adding that if instead of stain you want to use special paint for wood to give more light and color to your project, of course you can also find it in a store like this one. Check out the chalk paint because it’s awesome for these kind of projects.
NAILS OF ALL COLORS
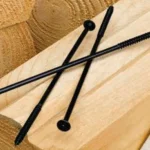
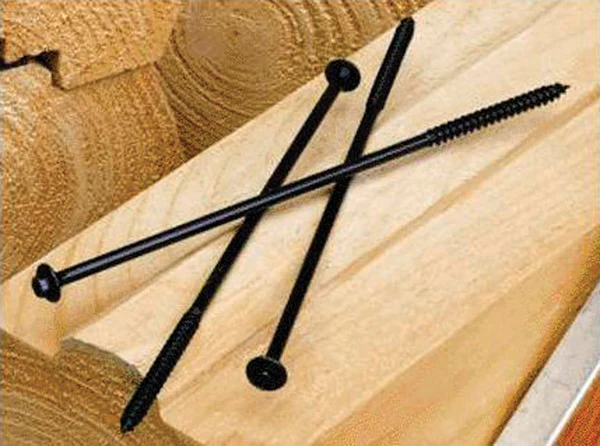
On the other hand, nails are an essential piece in String Art, and although they may not look like it, they are seen a lot. That’s why you can take the opportunity to let them take center stage or help enhance the design, so it’s a good idea to choose colored nails, such as black or copper.
CLAW HAMMER
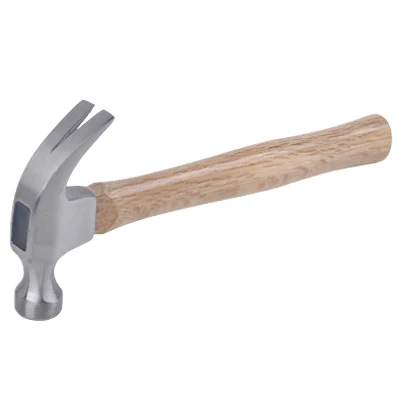
Of course, to hammer the nails into the wood you will need a good hammer that is special for this purpose, so claw hammers will help you not only to hammer the nails in, but also to remove them easily if you have made a mistake with any of them.
STRINGS AND THREADS
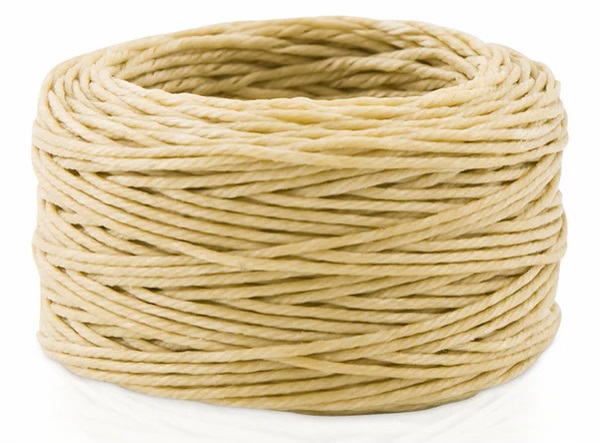
You can use many types of threads in your String Arts, from cotton threads, to embroidery threads, wool, twines, jute, even synthetic outdoor strings like the ones above for a String Art placed outdoors, such as on a porch or patio.
We do not want to finish this post without telling you that, in case you are professionally dedicated to it and do a large number of projects on a monthly basis, it is worthwhile to buy bulk wholesale home decor items and materials in order to make your DIY projects much more profitable. We wish you all the best of success!
Christmas is here and it’s time to start making Christmas presents. You know that in this blog we love handmade gifts and crafts, so we believe that it’s a good idea to give a cup of coffee String Art to a coffee lover so he can decorate his kitchen or the corner where he usually drink his coffee and enjoy it even more that he usually does. Of course, it can also be a self-gifting to decorate your own home with your art.

In this post we bring you a tutorial step by step to learn how to make a cup of coffee full of love String Art, but first let’s see the materials that you will need and a free cup of coffee template for download.
MATERIALS
To make this String Art you will need the following materials:
- A piece of wood
- Nails with heads
- Strings
- Pattern
- Hammer
PATTERN
We like to make it easy for you, so here you have the pattern used on the tutorial. Of course, you can download the coffe cup template for free.

STEP BY STEP
Once you have all the materials and the printed pattern, start to make the cup of coffee String Art following those steps by Jendi:
STEP 1
The first step is to get a piece of wood and fix it, restore it or paint it, according to your preferences. You’re also going to prepare it for hanging, so you have to drill a hole in the back.
STEP 2
The second step is to place the template on top of the piece of wood. Before printing it, make sure that the size of the paper matches the size of the wood. If not, enlarge or reduce with a software like Paint, Photoshop or by adjusting the parameters in the printer software.
STEP 3
The third step is to nail the nails with heads into the wood using a hammer and following the pattern lines or the silhouette. There is no specific way to do it, the space between nails is not always the same, it depends on the area and the shapes. When you’re finished, remove the paper template trying not to break it for keep it as a reference.
STEP 4
Now is the time to work with the threads. They can be made of cotton, wool… as you prefer. The thread is tied with a knot on the first nail. Then, it is rolled up in the head of the nails. There is also no exact way to do it, it is a creative process, you fill in the shapes to your choice. You can also use different colors for each part. For example, draw the cup with orange thread, the coffee with dark brown or black thread, the foam and the heart with white thread… When you finish with a color or zone, you have to tie a knot with the thread in the last nail.
STEP 5
The last step is to cut the leftover threads or the end of the string, if necessary, or glue them to the other strings using white glue.
Once your craft is finished, you can give it as a present or to hang it on the kitchen or living room walls and, of course, you can also prepare a tasty coffee with a Continental Coffee maker. Enjoy it!
Nowadays the audiovisual content is booming and more and more people who are dedicated to handcrafts decide to make video tutorials to reach more people. In addition, they can upload these videos to Youtube and other video streaming platforms and, thus ,earn extra money that might use to buy more material for their videos or as an extra source of incomes.
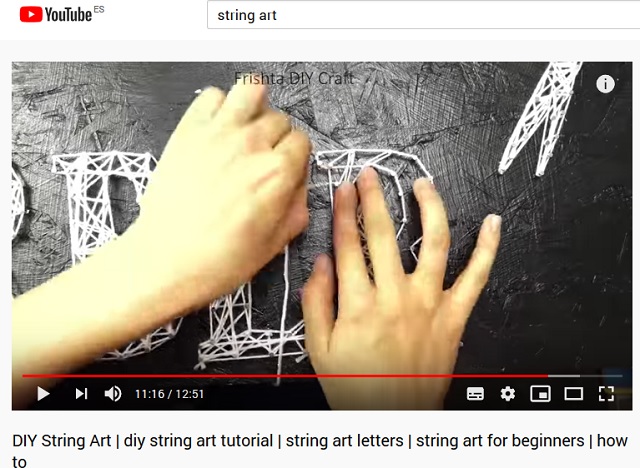
However, these video platforms, especially Youtube, take into account the copyright, especially the musical, and if you edit a video using a song with copyright, it detects it immediately and disables the video monetization. That’s why today we’re going to talk about sites where you can download music without copyright in order to monetize your videos and that cou can see your effort rewarded also financially.
In Patrick de Arteaga’s non-copyrighted music
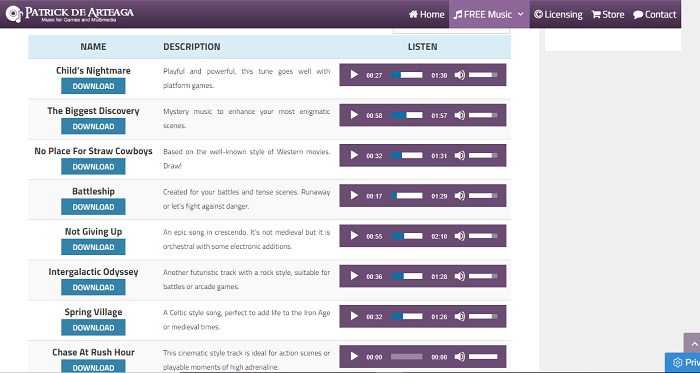
We have found a website that we like very much and that is full of songs that are great for handcraft video tutorials and for video games. In Patrick de Arteaga’s non-copyrighted music website each song comes with a description and it’s easy to listen to them without having to download them. If you decide to use one of his songs, the only thing you have to do in return is to add a link to the site patrickdearteaga.com in your credit’s project or in the video description box. We encourage you to listen to his list, it is full of surprises and magic sounds.
In Youtube’s Audio Library

The Youtube’s Audio Library has some royalty-free songs to put as background music in your videos, there are not many, but they are well selected and ordered. In the classic version of Youtube, it’s easy to access, as you can see in the image. In the Beta version it is less intuitive. You have to go to “Editor” and in the audio bar, click on the musical note symbol ♪ , then “+audio” and, finally, the library opens. There e you can see the list by author, genre, mood, duration, favorites… Then, you just have to click on “add to video” and that’s it.
In Soundcloud Best No Copyright Music Playlist

We are sure that you’ve used Soundcloud many times to listen to streaming music, especially from little-known musicians, but did you know that it has a royalty-free music section where you can download some songs and use for your video tutorials? Most of them, however, require you to put an attribution, so read each one well, they ask for different things, as they are Creative Commons Music. We recommend to you to follow the playlist “Best No Copyright Music” on Sondcloud and enjoy it.
As you can see, there are many sites where you can download royalty-free music. In this way, in addition to monetizing your videos and earning money, you are helping to spread the work of lesser-known musicians, who need people to give them a chance to become more known.
We hope that these websites and sources have helped you, that many people see your videos and that you earn a lot of money. If so, buy to these independent musicians a license or make a donation to the musicians who offer their songs for free. They would appreciate it!
Hello everyone! Today we bring you a new String Art that is very easy to make, perfect to make it at fall season. Since it is very simple, it’s suitable to make with children, but always with adult supervision, due to the fact that we are using nails and hammers. As you can see on the frame, it’s a fall leaft String Art. Let’s take a look to this video tutorial by regalamanualidades.
The best thing about this project is that you do not even need a leaf tree template, you can directly use a sycamore leaf, a maple leaf, a tulip tree leaf or no matter what leaf found at the woods in autumn as a template. Put it on the wooden board and put the nails around it, as you usually do with paper templates.
It would be perfect if you can buy a gradient yarn or gradient thread from orange to black or brown, as the used in the tutorial. If you cannot, then buy orange, dark orange, ocher and dark brown threads and make several layers to get the gradient effect. Pay attention to the end of the video, where we see how to tie the last thread, creating a special knot to fix the thread and be sure that it will not untie.
We hope that you liked this Sting Art and that you fell fancy going the forest to find a few dry leaves to use as a template and make projects as beautiful as this one to decorate your house in the fall season.
If you enjoyed this tutorial, please, share it with your friends so that they can also do this beautiful craft with their kids or their art students. We hope to see you soon! Until then, have a happy autumn.
Hi, guys! How are you doing? Today we want to bring some magic to this blog and we are show you how to make an unicorn String Art step by step with this wonderful tutorial made by Jorge de la tierra.
Isn’t it lovely? We miss just one thing. It would be even more lovely if you write the quote “I don’t believe in humans”. This sentence will make the String Art more funny and clever.
MATERIALS YOU NEED
- Pattern
- Wood Board
- Round Headed Nails
- Hammer
- White, yellow, purple, blue and pink strings.
FREE PATTERN
 We haven’t found exactly the same pattern as Jorge de la Tierra uses in this video. But we have searched for a similar one and we offer you this one by Tatiane Xavier. We have fllipped it like a mirror to try to be more similar. Obviously, you can download this unicorn free pattern for free. Print it and use like a patter.
INSTRUCIONS
As you can see in the step by step, the process is just the same as always. First of all, you have to paint the wooden board in black or in a dark colour. This way, the unicorn shape will shine out and the colours of his hair will stand out.
Then, you have to hold the pattern and hammer the nails following the unicorn shape and the most important lines, like his mouht, eyes, strips and hair waves.
After that, you have to start filling with white threads the unicorn head. The following step is to fill the air and the corn using yellow, purple, blue and pink strings. The last step is to make the blue eye.
We hope that you have enjoyed this post with the template and instructions to make an unicorn String Art. If so, please, share it on your social networks. See you soon!
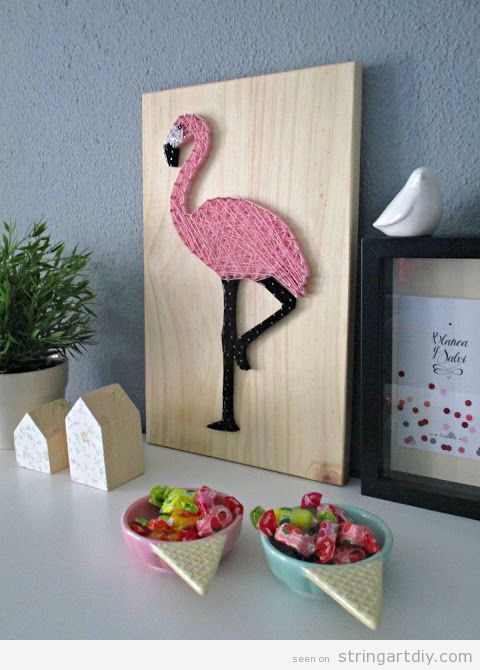
If you have not tested it yet, try it: making String Art projects is one of the most relaxing things in the world! Now that the summer is coming and maybe you’ll have a little extra free time to make your DIY projects, take a look to this one because it’s gorgeous!
As you can see, it’s a flamingo, one of the most extraordinay and curios and strange animal. Its look is perfect for the summer. You can see flamingo prints everywhere because its image it’s refreshing and cooling. This flamingo String Art seen on La Buhardilla would be a perfect DIY piece of art to decorate your living room, office or even your studio, shop or café.
MATERIALS YOU NEED
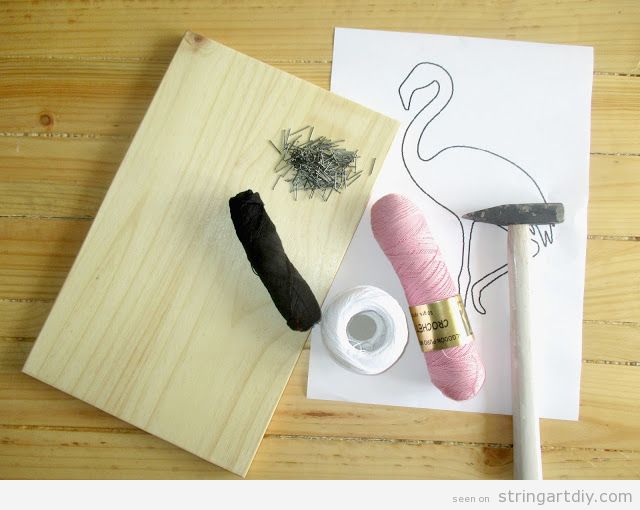
To make this wonderful Flamingo String Art you will need these materials on the image above:
- Wooden board
- Flamingo template
- Tracing paper or scissors
- Hammer
- Nails
- White, black and flamingo pink thread
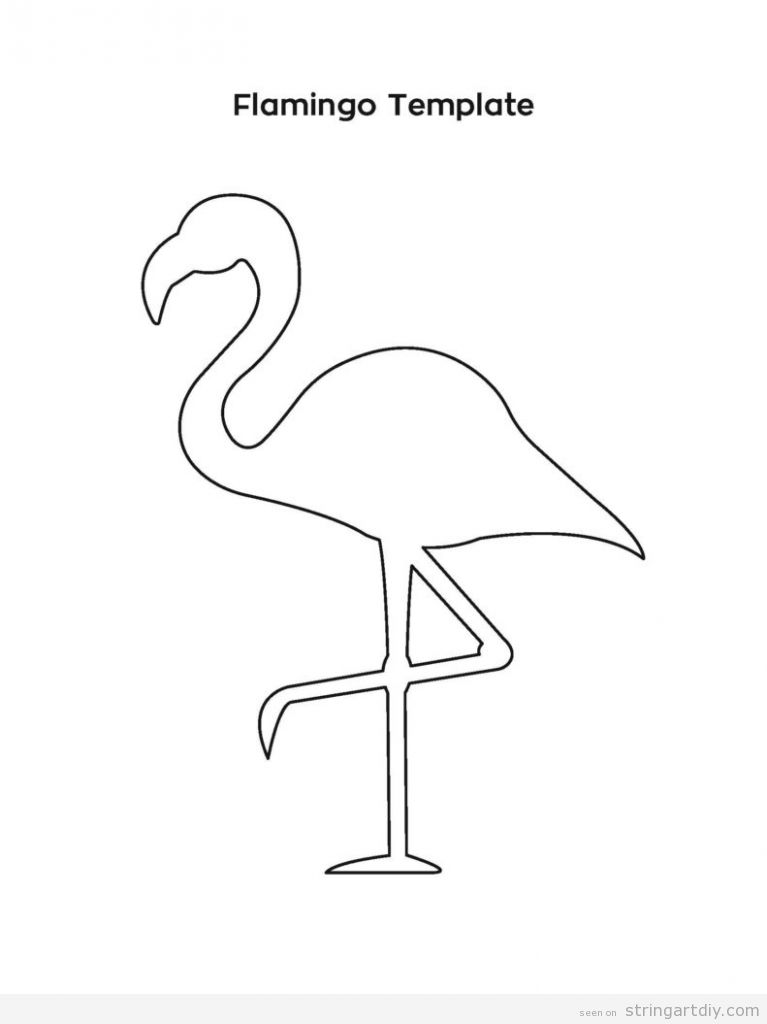
FLAMINGO TEMPLATE
As you will need a flamingo template, you can download this one for free.
FLAMINGO STRING ART STEP BY STEP
It would be useful to draw the flamingo shape on the board. You can cut the shape and fix it on the board or maybe you can use a tracing paper to draw it.
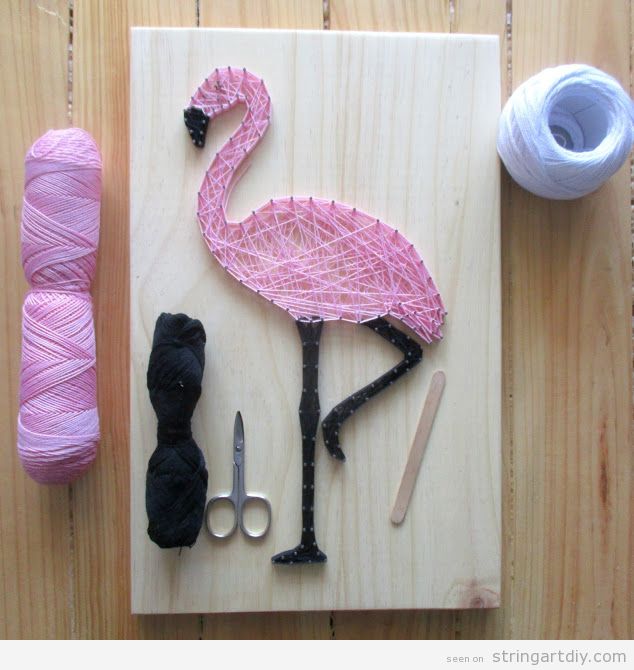
The next step, as you maybe already know, it’s hammer the nails around the flamingo shape. It’s very important to hammer them marking the most important points in the shape and trying to keep an equidistant distance between them. Then, you have to be patient and start to interwave or interwine the threads. Enjoy this process, it would take a little bit because you have to pass the threads a lot of times, but it worth it.
Do you have any question about the process? If you do, write us in “Comments” o send us a message via Twitter or Facebook and we’ll try to answer it as soon as possible. Thanks for reading us!
Hey guys! One week left for Valentine’s Day, so it’s the moment of thinking about de DIY and easy gifts that we can male, as this String Ar made by Sofia Loayza. Let’s take a look to this tutorial so we can learn how to make it!
You will need these materials:
- Wooden board
- Tracing paper
- Pencil
- Patterns
- Acrylic paint
- Brush
- Cotton Thread or Wool
- Sandpaper
- Hammer
- Nail
1. The first step is to sand down the wooden board and, then, paint it in white using acrylic paint.1
2. The second step is to trace the shape on the board using tracing paper. As you can see, you have to put the tracing paper between the board and the template and dreaw again the line using a pencil. In this case it’s an elephand and the word “LOVE”
3. The third step it’s to nail the nails ord pins using a hammer all around the elephant or “Love” letters shape.
4. The fouth step is to pass the thread over the edges or borders making a little loop in each one, as you can see on the video. Remember that you can use different colours.
And that’s all! It look really nice and it’s a perfect handmade gift to give to your beloved on Valentine’s Day.
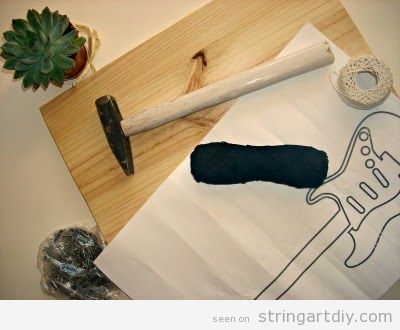
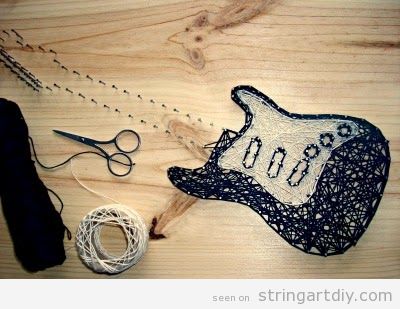
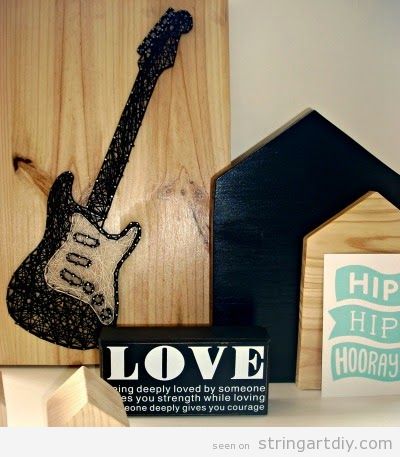
Hi, guys! Today we have find this amazing Electric Guitar String Art made by La Buhardilla and we want to share the process with us in order you can learn how to make it.
As usual, you will need the following materials: a wooden board, a hammer, scissors, nails, threads (black and white) and a template.
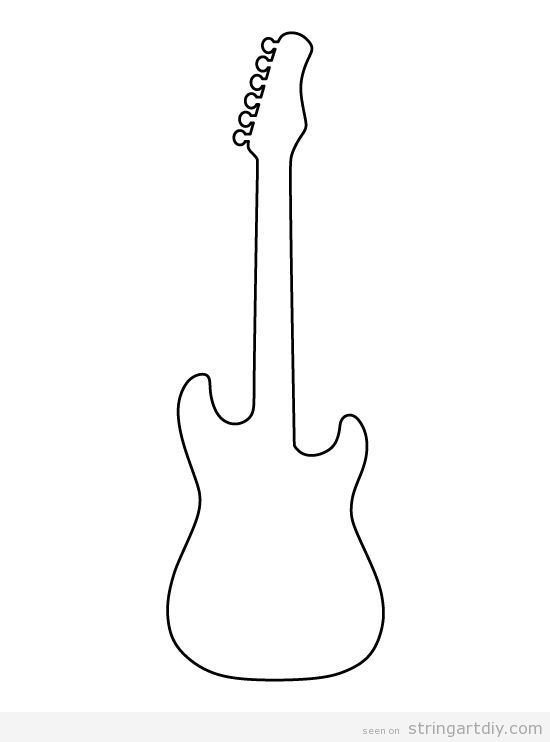
First of all, here you have the templeate, so you can download it:
You can download a higher version of this template to print it in this link: Download the pattern by Pattern Universe.
Then, we start the process, wich is almost always the same.
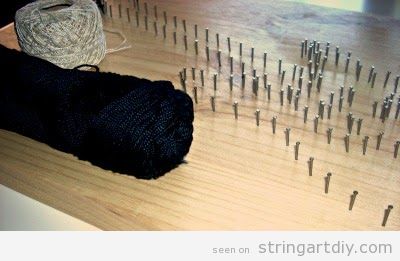
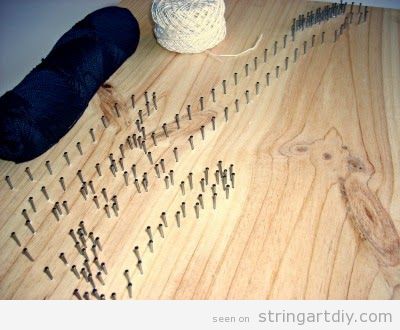
- You must put the pattern over the wooden board and, then, start to clue the nails on the shape.
2. Once you have finished, retire or remove the paper and you will have all the guitar shape and its decorations.
3. This is the moment when you start to put the threads over the nails. Make a loop around the nail heads. Pay special attention if you want to make the guitar in different colours. This one is in black and white but you could chose whatever colour you like the most.
4. That’s it! Put the String Art in a wall to decorate it. This it’s also a nice handmade gift.
Have you like it? So comment and share! Thanks for reading, see you soon!
Heeey! If you are looking for an easy String Art for begginer or for make with kids and teenagers, maybe this video made by Diego Rojas will help you.
As you can see, you only have to nail the nails in a wooden board following the line of a circle. We recommend to print the shape or draw it using a pencil and then pin the nails around it. After that, you must cross the threads in the order you can see on the video. Then, repeat the process twice using some different colours and that’s it.
An that’s all! You will have a perfect handmade project to decorate a wall.
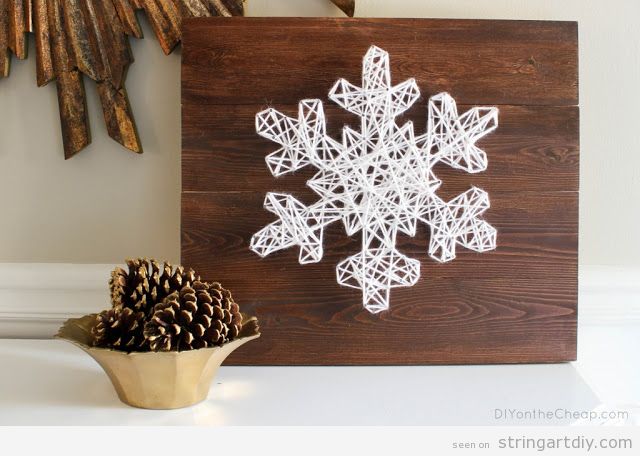
Yeeeey! The Chistmas countdown has started! Just one month left! So, oficially, we can finally start to think about Christmas decorations, Christmas gifts and Christmas projects! We want to start with this wonderful snowflake String Art.
We have found this tutorial on Decoración Ideas. As it is explained in Spanish, we let’s try to translate it to English.
To make this String Art, will need these materials:
- Wooden board
- Hammer
- Wood glue
- Printer
- Projector (optional)
- Pencil or chalk
- Nails
- Threads
- Drill, dowels, tenterhooks and rings or shackles (to fix it to the wall)
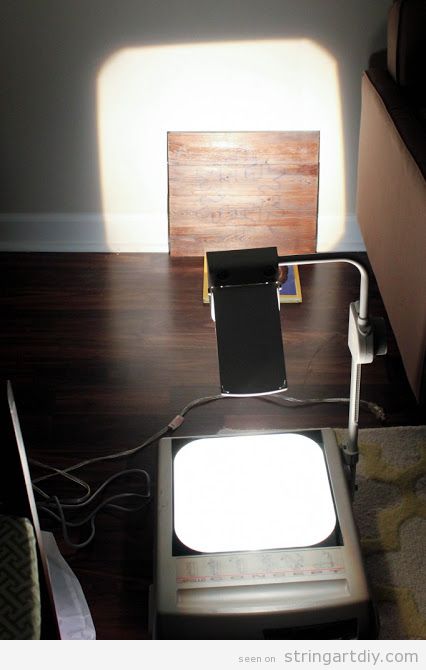
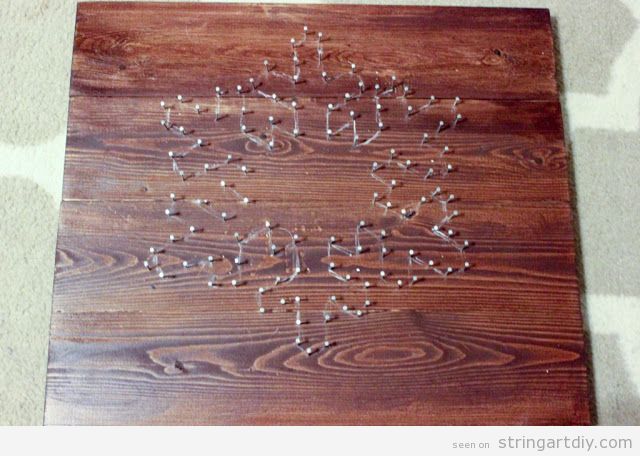
As you can see, the first step is to print the snowflake pattern or, if you have a projector, it could be perfect use it to project the image directly on the board.
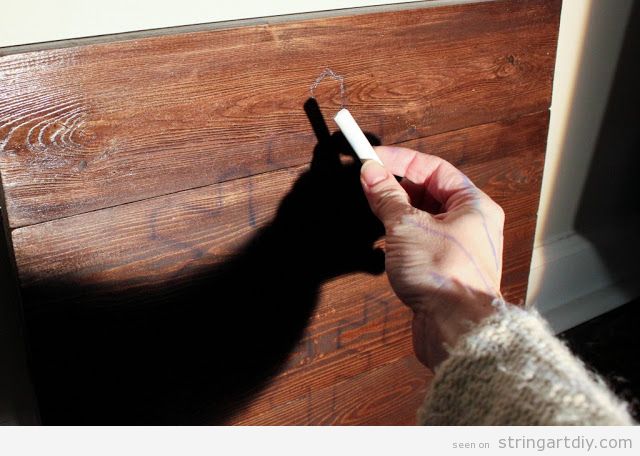
Then, you have to draw the snowflake shape on the board using a pencil or a chalk and following the projected shadow lines.
The next step is to clue the nails along the drawing. You can leave a 2 or 3 centimeters between them, but make sure that they are pinned in the most important vertexs, angles or corners.
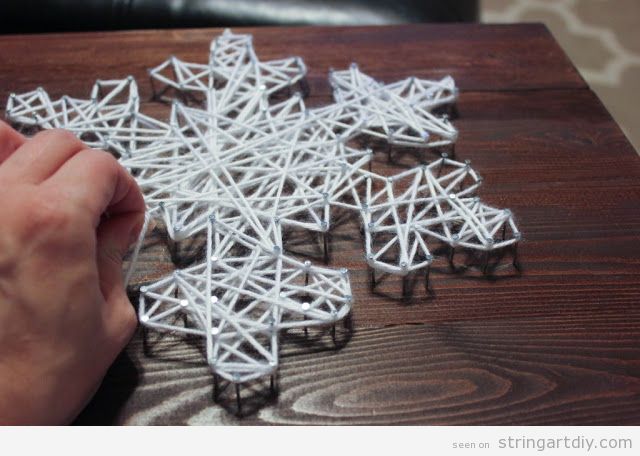
The last step is to pass the thread through the nails or across them and make some knots in order to fix it well.
And that’s it! You have this gorgeous snowflake shaped String Art to decorte yout home at Christmas or even to offer as a handmade gift. Have a nice weekend!
