Sell
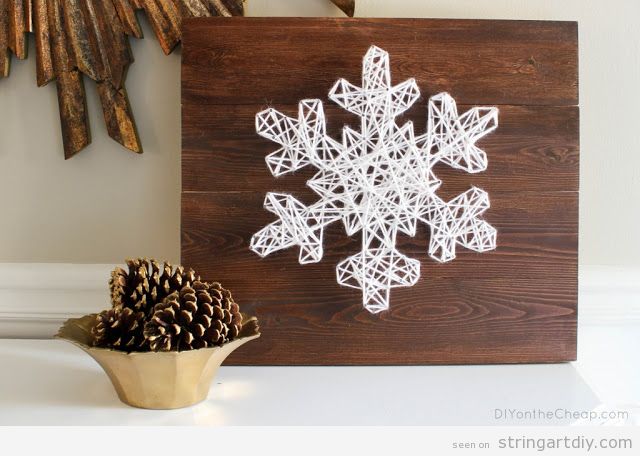
Yeeeey! The Chistmas countdown has started! Just one month left! So, oficially, we can finally start to think about Christmas decorations, Christmas gifts and Christmas projects! We want to start with this wonderful snowflake String Art.
We have found this tutorial on Decoración Ideas. As it is explained in Spanish, we let’s try to translate it to English.
To make this String Art, will need these materials:
- Wooden board
- Hammer
- Wood glue
- Printer
- Projector (optional)
- Pencil or chalk
- Nails
- Threads
- Drill, dowels, tenterhooks and rings or shackles (to fix it to the wall)

As you can see, the first step is to print the snowflake pattern or, if you have a projector, it could be perfect use it to project the image directly on the board.
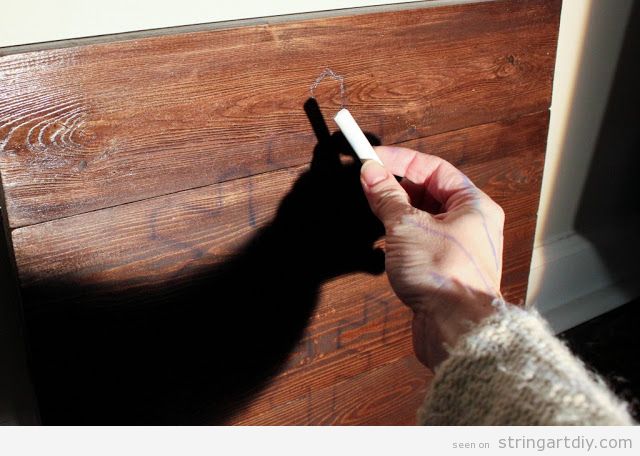
Then, you have to draw the snowflake shape on the board using a pencil or a chalk and following the projected shadow lines.
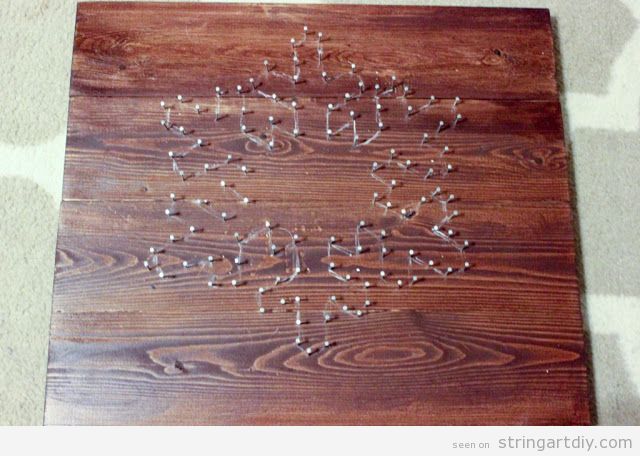
The next step is to clue the nails along the drawing. You can leave a 2 or 3 centimeters between them, but make sure that they are pinned in the most important vertexs, angles or corners.
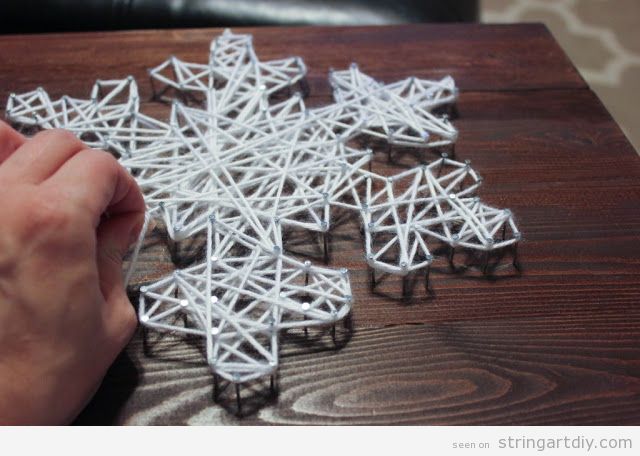
The last step is to pass the thread through the nails or across them and make some knots in order to fix it well.
And that’s it! You have this gorgeous snowflake shaped String Art to decorte yout home at Christmas or even to offer as a handmade gift. Have a nice weekend!