Gradient
Hello everyone! Today we bring you a new String Art that is very easy to make, perfect to make it at fall season. Since it is very simple, it’s suitable to make with children, but always with adult supervision, due to the fact that we are using nails and hammers. As you can see on the frame, it’s a fall leaft String Art. Let’s take a look to this video tutorial by regalamanualidades.
The best thing about this project is that you do not even need a leaf tree template, you can directly use a sycamore leaf, a maple leaf, a tulip tree leaf or no matter what leaf found at the woods in autumn as a template. Put it on the wooden board and put the nails around it, as you usually do with paper templates.
It would be perfect if you can buy a gradient yarn or gradient thread from orange to black or brown, as the used in the tutorial. If you cannot, then buy orange, dark orange, ocher and dark brown threads and make several layers to get the gradient effect. Pay attention to the end of the video, where we see how to tie the last thread, creating a special knot to fix the thread and be sure that it will not untie.
We hope that you liked this Sting Art and that you fell fancy going the forest to find a few dry leaves to use as a template and make projects as beautiful as this one to decorate your house in the fall season.
If you enjoyed this tutorial, please, share it with your friends so that they can also do this beautiful craft with their kids or their art students. We hope to see you soon! Until then, have a happy autumn.
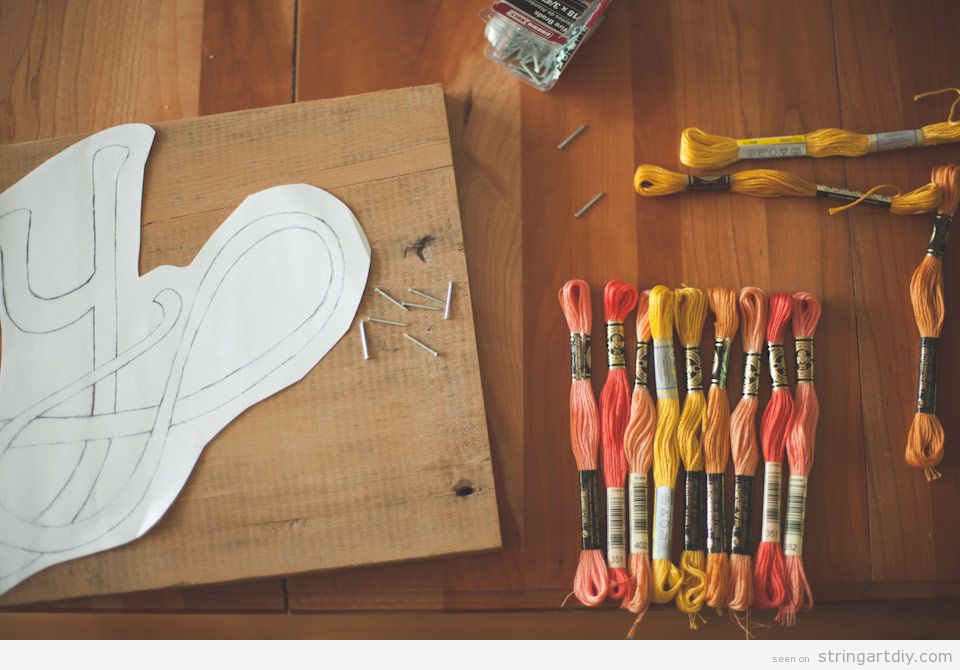
Here you have and easy DIY project to decorate your place. As you can see, it’s a “Joy” word String Art in gradient colours, from yellow to red.
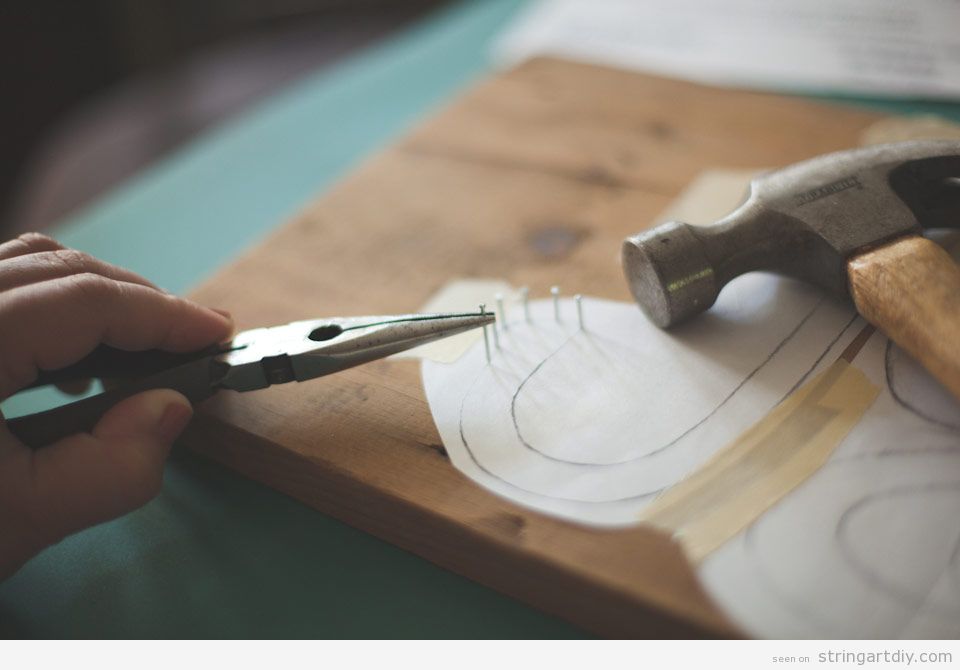
You can follow the steps in this tutorial to lean how to do it in an easy way.
Source: Dear Mckenzie
The result is amazing! isn’t it? It turns out a great craft to decorate a wall!
Source: Loo


