Flamingo
If you have not tested it yet, try it: making String Art projects is one of the most relaxing things in the world! Now that the summer is coming and maybe you’ll have a little extra free time to make your DIY projects, take a look to this one because it’s gorgeous!
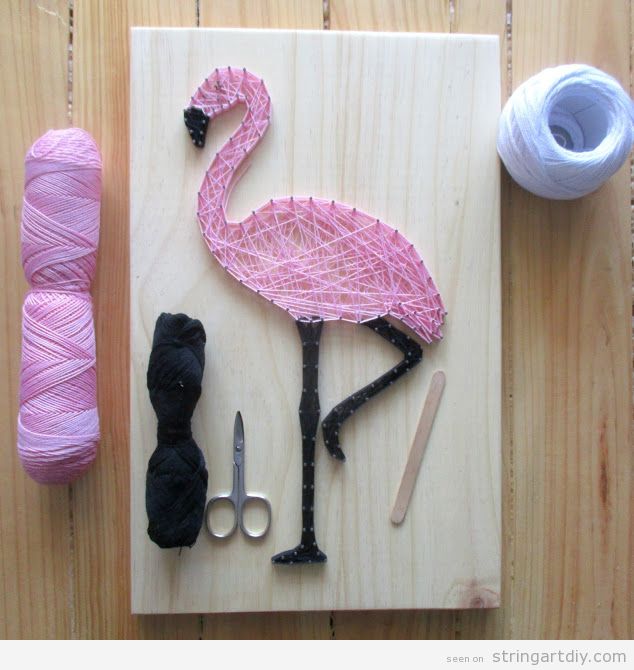
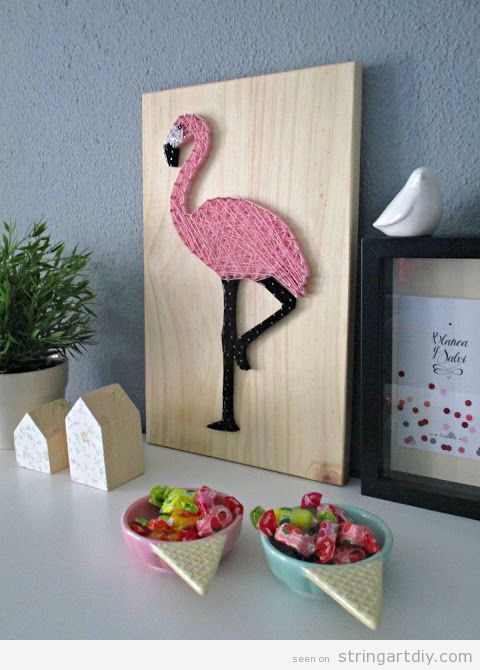
As you can see, it’s a flamingo, one of the most extraordinay and curios and strange animal. Its look is perfect for the summer. You can see flamingo prints everywhere because its image it’s refreshing and cooling. This flamingo String Art seen on La Buhardilla would be a perfect DIY piece of art to decorate your living room, office or even your studio, shop or café.
MATERIALS YOU NEED
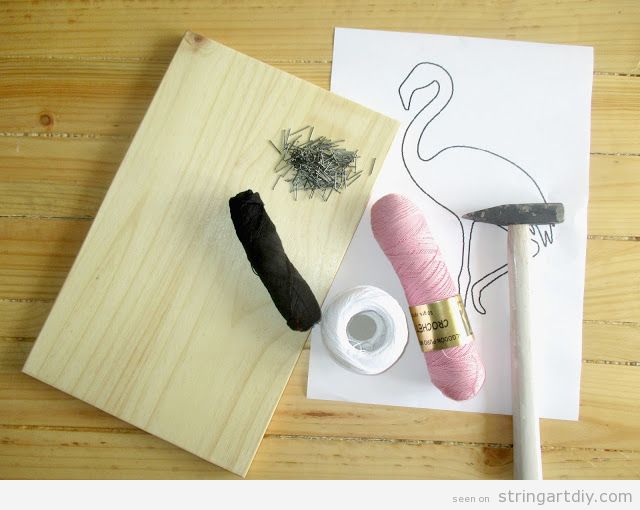
To make this wonderful Flamingo String Art you will need these materials on the image above:
- Wooden board
- Flamingo template
- Tracing paper or scissors
- Hammer
- Nails
- White, black and flamingo pink thread
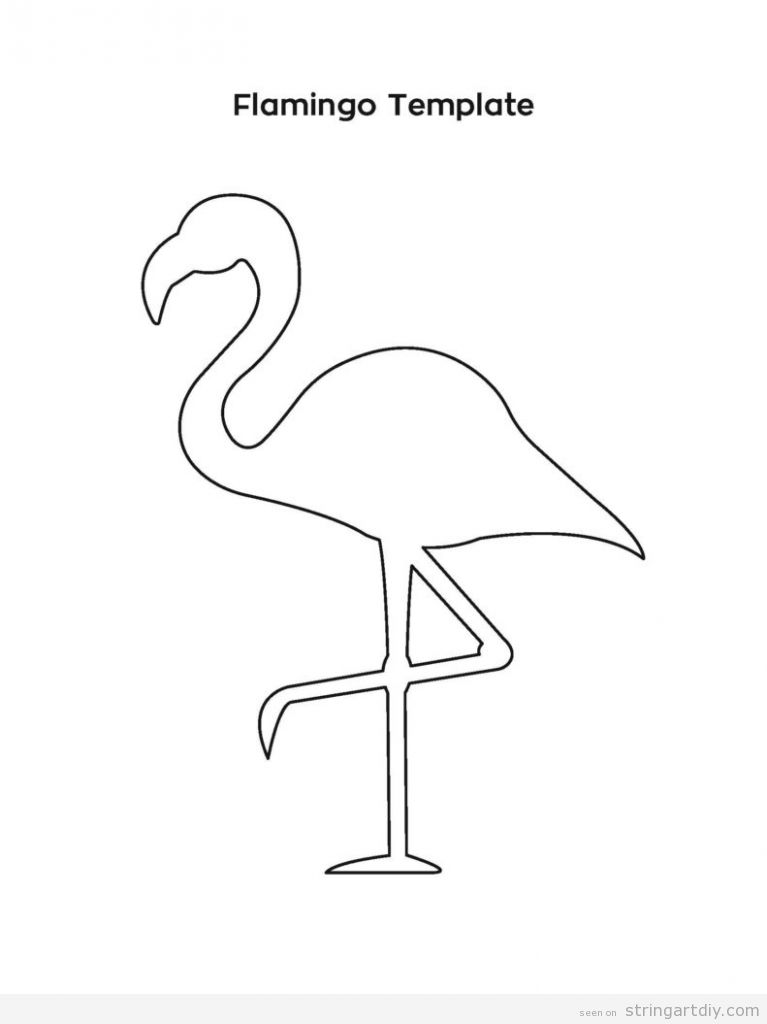
FLAMINGO TEMPLATE
As you will need a flamingo template, you can download this one for free.
FLAMINGO STRING ART STEP BY STEP
It would be useful to draw the flamingo shape on the board. You can cut the shape and fix it on the board or maybe you can use a tracing paper to draw it.

The next step, as you maybe already know, it’s hammer the nails around the flamingo shape. It’s very important to hammer them marking the most important points in the shape and trying to keep an equidistant distance between them. Then, you have to be patient and start to interwave or interwine the threads. Enjoy this process, it would take a little bit because you have to pass the threads a lot of times, but it worth it.
Do you have any question about the process? If you do, write us in “Comments” o send us a message via Twitter or Facebook and we’ll try to answer it as soon as possible. Thanks for reading us!


