Tutorials and Videos
Tutorials and videos to learn how to make your own String Art Craft project.
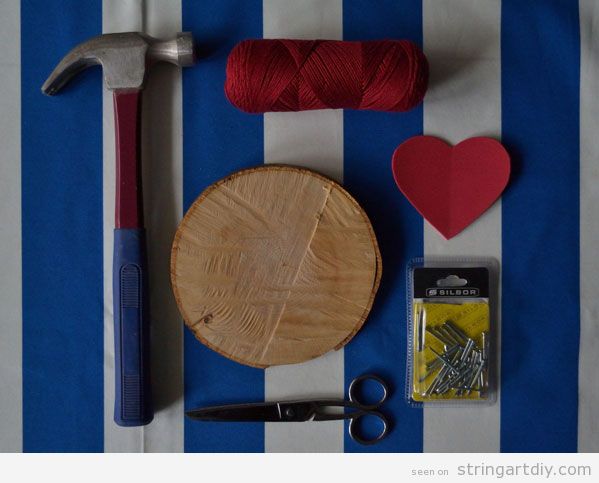
To make this wonderful heart shaped String Art you will need:
– Hammer
– Red String
– Heart Pattern (made by felt, foam or cardboard)
– Tree or trunk slice
– Nails
– Scissors
After that, you need to put the felt heart shaped pattern on the slice and clue the nails all over it.
Then, you just need to pass or cross the thread and fix it on the nails in multiples directions and you will have this wonderful piece to decorate a room, a cafe, a wedding or whatever you want.
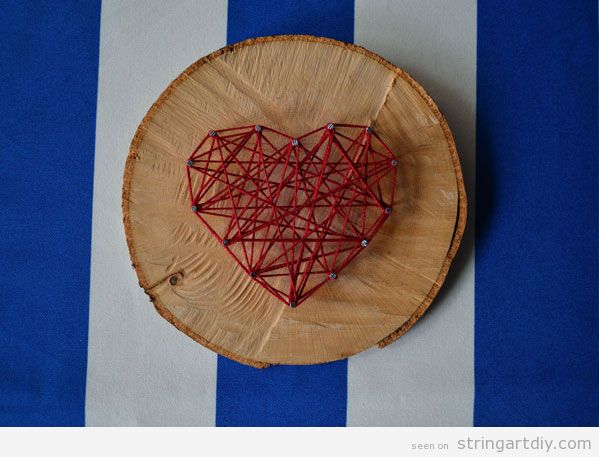
Source:_ Salacadula
In this case, it’s a lovely teckel. We encourage you to make the same with your dog, cat, bird or whatever you like. It’s easy and a a great handmade gift or decoration. Go ahead!
You can learn how to make it on a wall by watching this tutorial by Michaels Stores
She has chosen two thin wooden boards and has glued them. Also she has printed the letters (you can chose the font ot type you like the most), and then, she has clued the pins all over the letters and has put the threads all over it, using two different colours: one for the shape, the other one for the stuffing.
I really love it! And you?
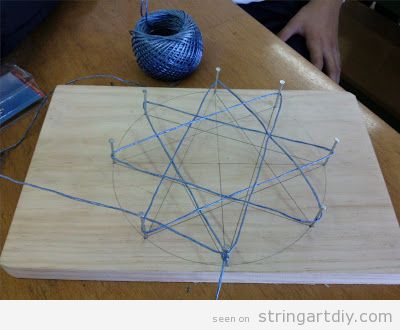
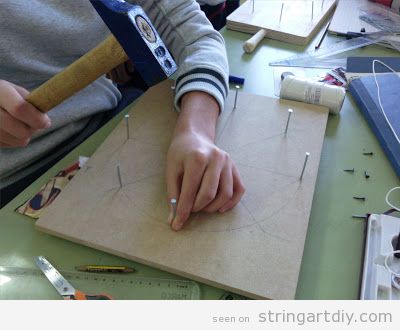
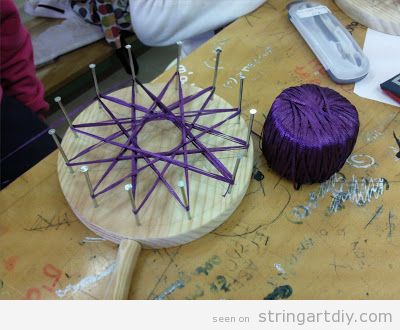
As you can see, is a Star String Art on a wood base, and the results can be very different.Here you have the tutorial made by Plástica en el Valle (a blog for the students of Ramón del Valle-Inclán secondary school, in Sevilla, Spain).
Enjoy it!


You will need these supplies to make this snowflake String Art
– Wooden board
– Nails
– Hammer
– White string
– Scissor
– Template
Here you have the template for free download:

Created by Muhaiminah Faiz on Guidecentral English channel.
We hope that this tutorial by eleFANTASIAndo is useful to you.
I hope you enjoy it.
– Paint (your choice)
– Paint Brush
– String (your choice)
– Scissors
You can download the pattern for free in this link: Skull Pencil Drawing
Source: suzaxne
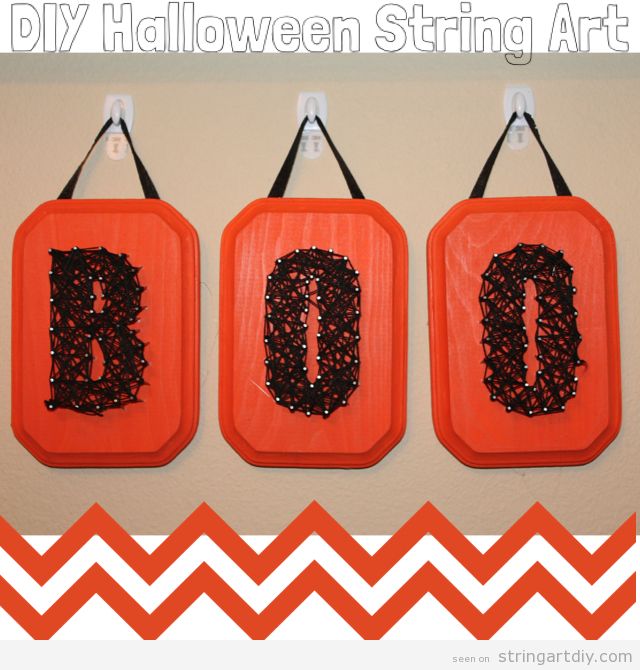
If you want to see the full tutorial step by step, we recommend us to visit the following link: Simply Being Mommy – DIY Halloween String Art